I didn't have much direction in mind for this game (still dont!) so instead i decided to just write down anything and everything that came to mind.
Here are some of my hastily typed ideas that I had in the first week of development:
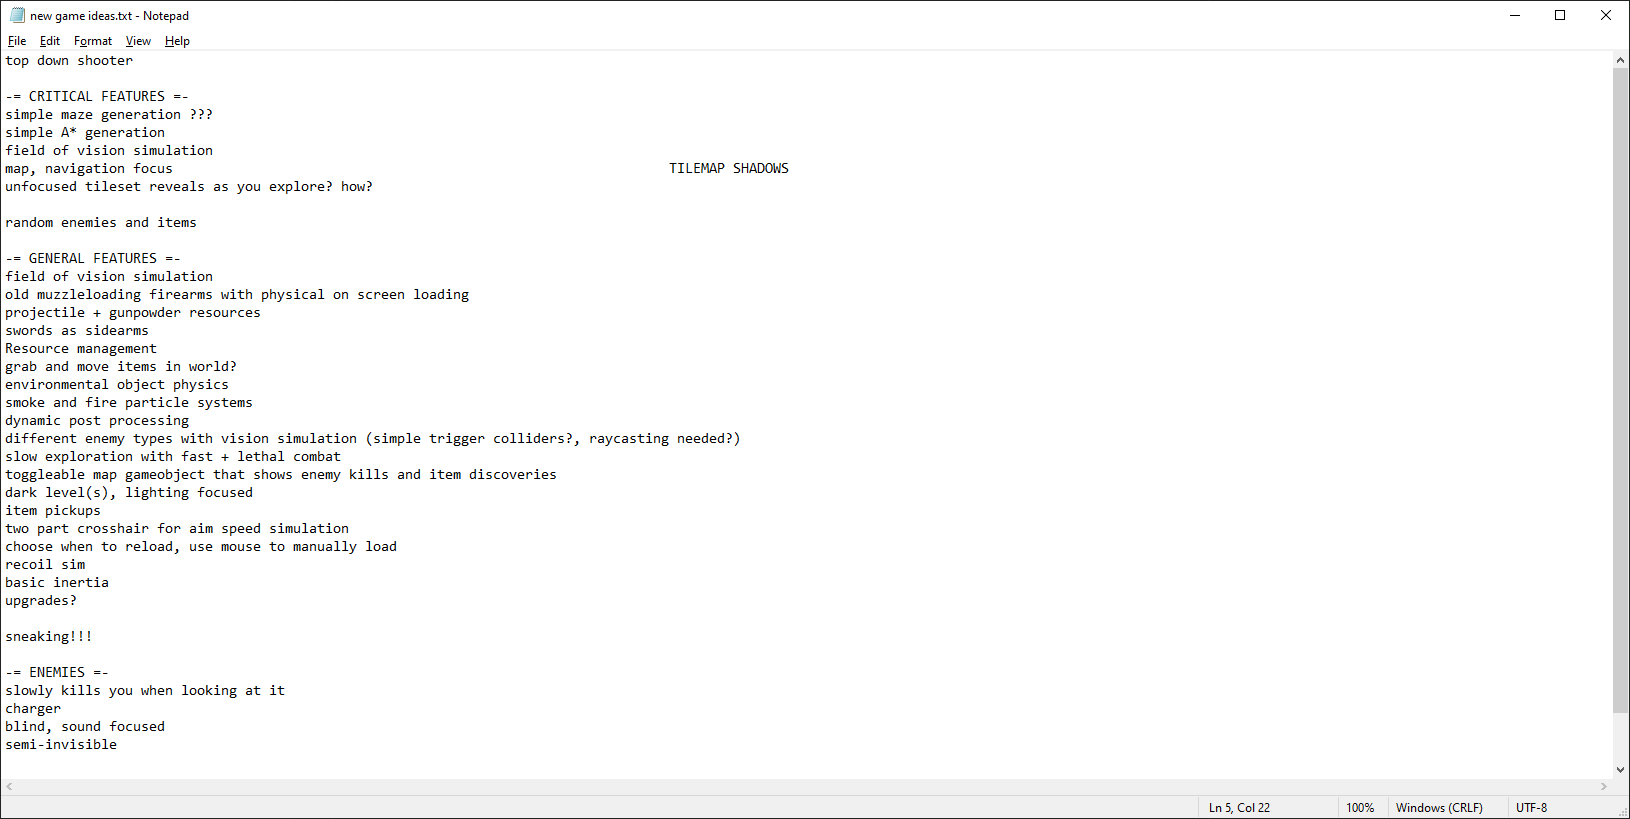
Many of these ideas will change or be scrapped as I go, and many more will be added.
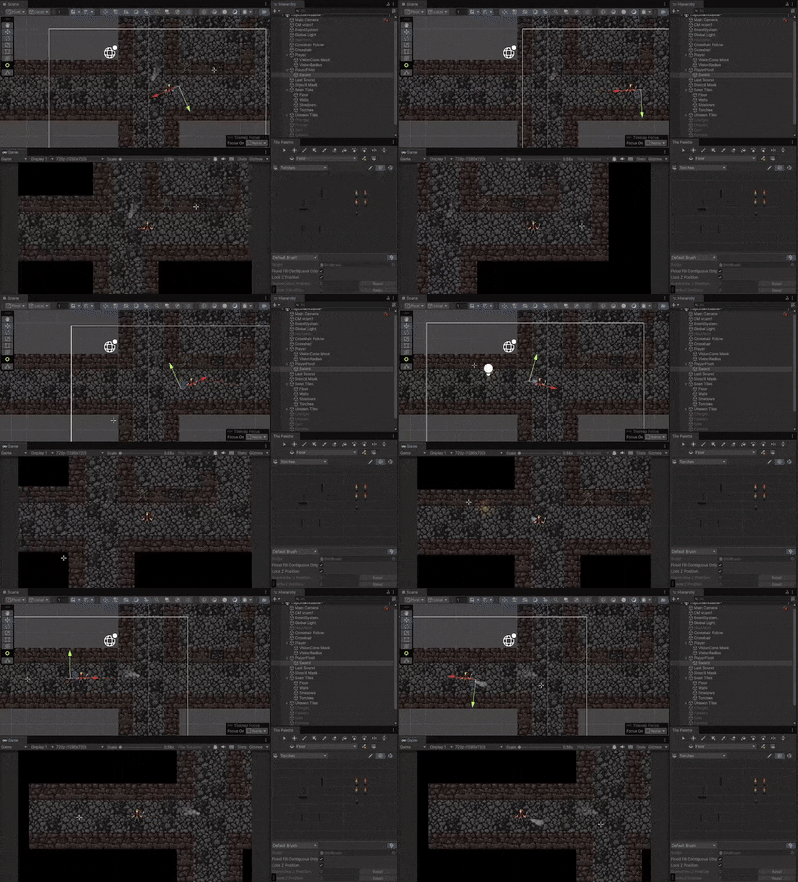
This one took up most of my first week and a little bit extra, I wanted an effect similar to games like Darkwood and Project Zomboid, where I could mask out anything that wasnt in the players line of sight, namely enemies, and have the effect be blocked by obstacles like walls.
This was (as expected) quite tricky for someone new to coding! But I'm stubborn enough that I wen't through with it anyway. The first method I tried involved using Unity's Universal Render Pipeline (URP) to manipulate layer masks in conjunction with a script that creates and updates a custom mesh using raycasts.
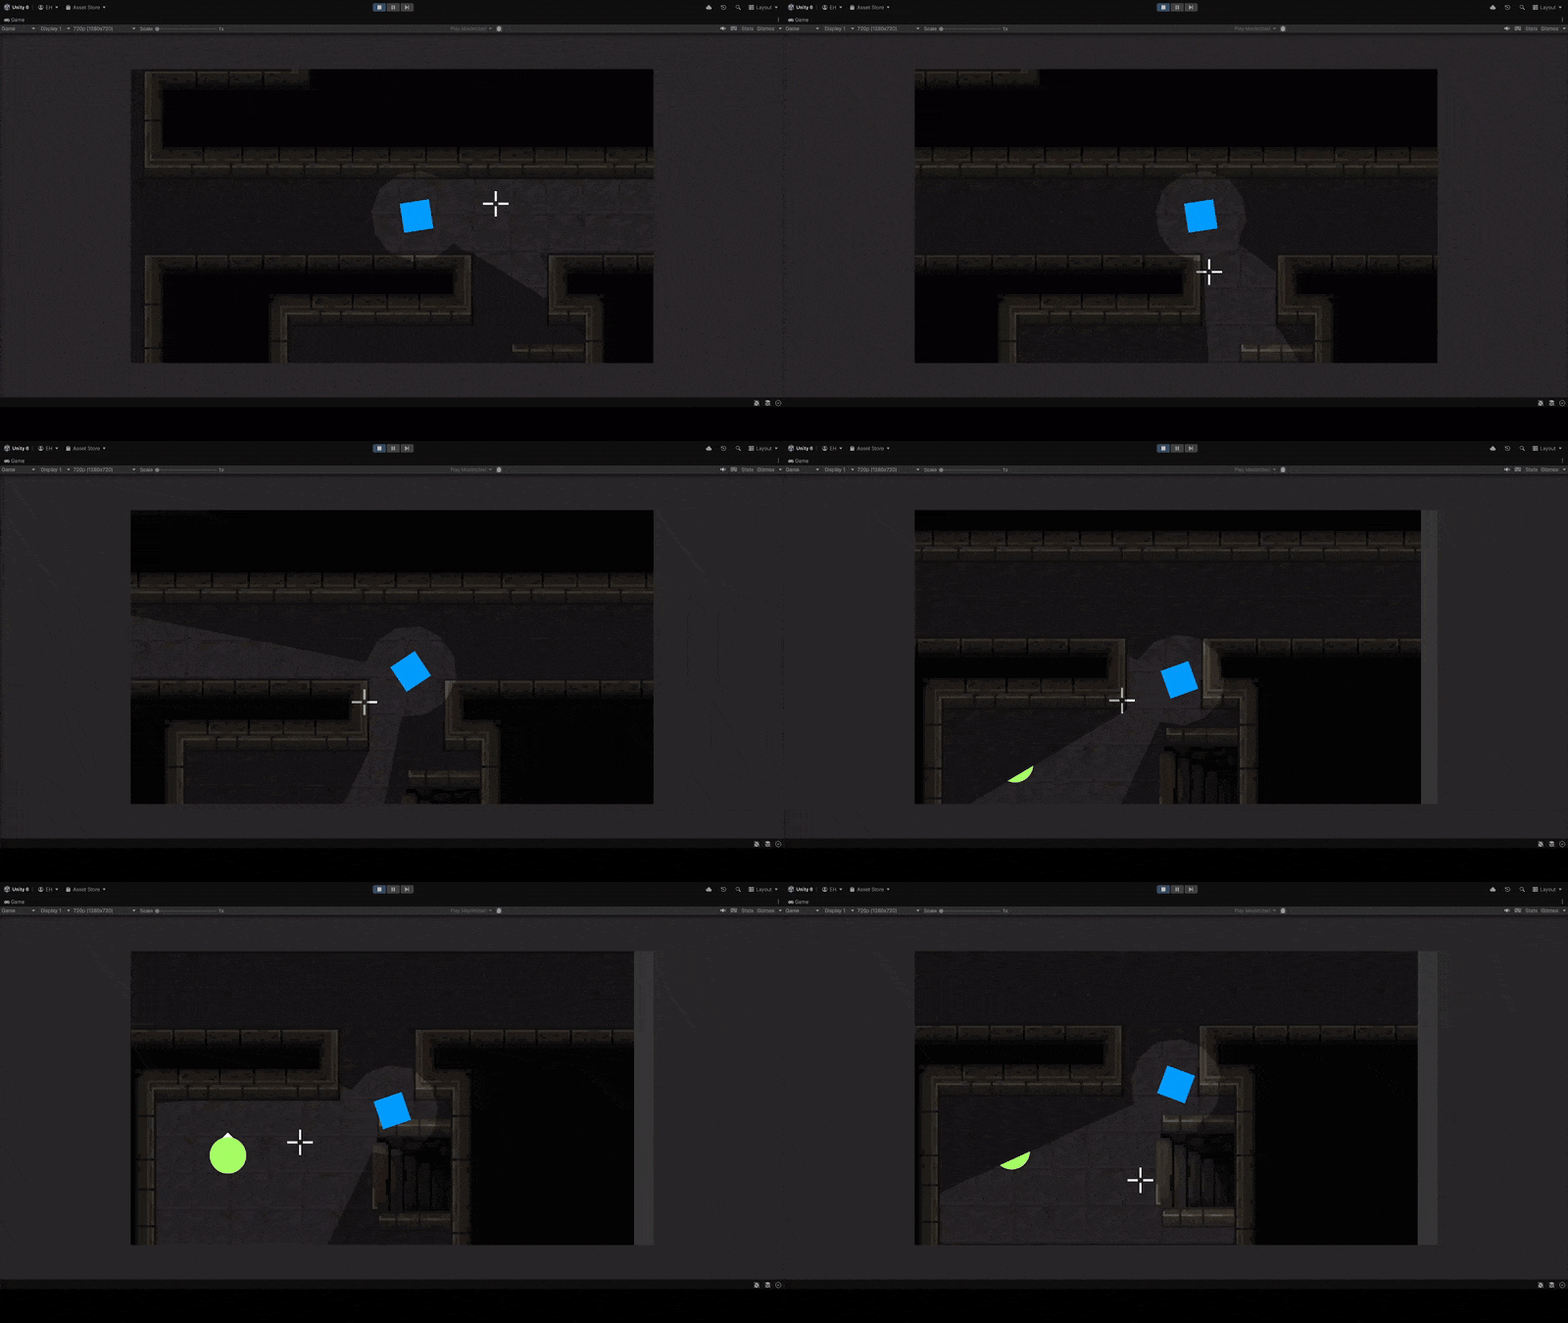
This appeared to work nicely, and I was able to make it very customisable and optimised too! I was ready to move on to implementing some other features when I realised that the type of URP renderer I was using (URP Universal Renderer) meant that I was unable to use any 2D lighting whatsoever, among other minor problems, and that I needed to use the URP renderer for 2D games instead (oops). Unfortunately, I quickly realised the 2D renderer uses another system called sprite masks, this essentially meant I had to start from the beginning again...
I then spent the rest of the week trying different approaches that use sprite masks instead, spending hours researching anything at least vaguely related to this vision effect, all the while doing my best to avoid having to remake too much of my code (there was a lot of maths involved that I really didn't want to revisit). After a few days of experimenting, I discovered that making 2 custom shaders, one for a stencil mask itself and one for any objects I needed to interact with this mask. This allowed me to make any sprite i wanted visible either inside the mask (the player's field of vision), outside the mask, or just render normally.
This method was a lot easier to set up than the old one, and was a lot more seamless to use within my 2D project (as most would expect from something that says its for 2D... but lets move on). However there was a benefit to this week long wild goose chase, which was that because of all this tinkering and researching, I was able to give my field of vision simulation some nice new features that would make it run very smoothly and look better, such as edge detection for a smoother appearance without the need for way too many triangles
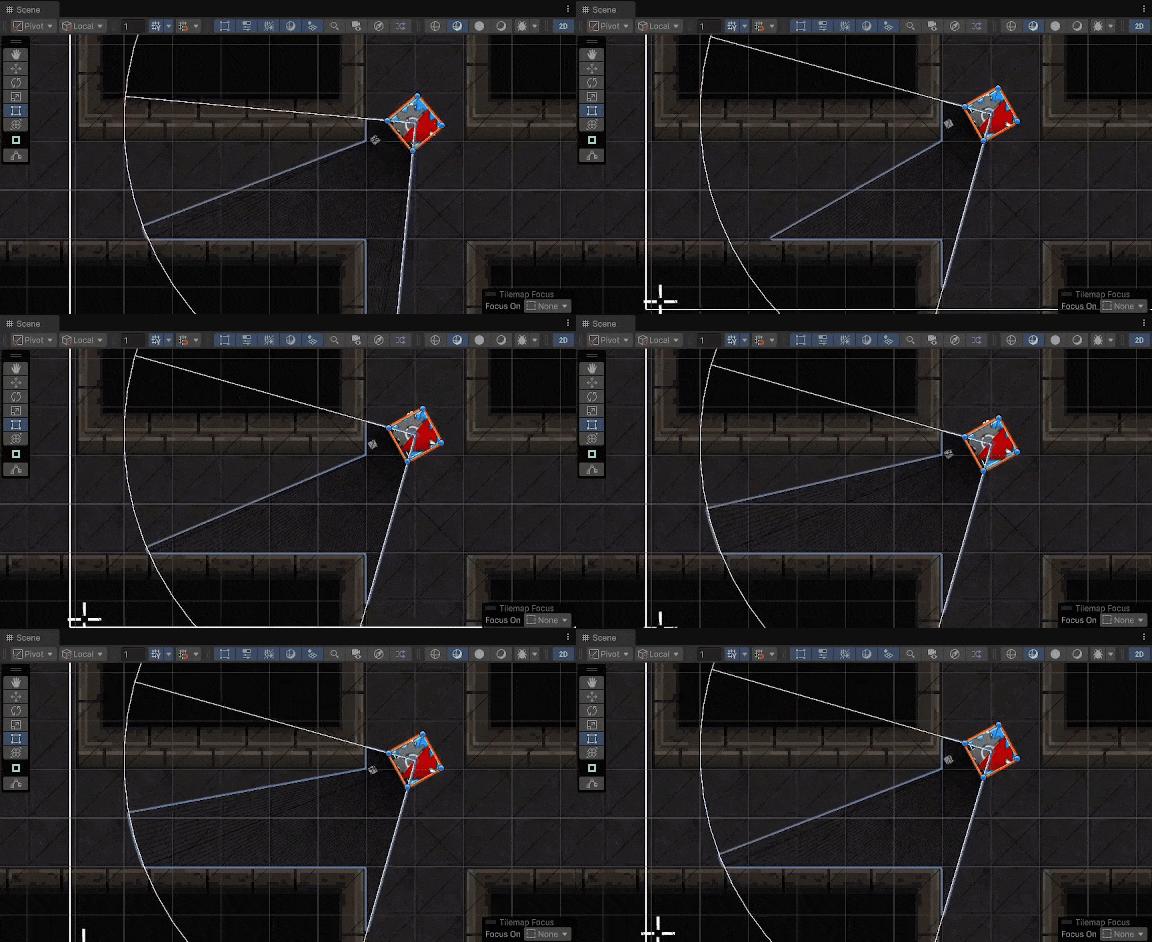
I then focused on making everything outside the field of vision appear darkened, for which I created a duplicate of my tilemap but without any colliders or other logic and with a dimmer appearance. All I needed to do was make this tilemap render outside of the mask and the effect was completed. This worked without issue, however I quickly realised that by doing this, the walls that the player is looking at remained dark due to how my raycasts worked.
I wanted a small part of the wall to be visible when the player was looking at it, so I started by just adding an extra bit of distance that the vertex placement would take into account when creating the triangles. This ended up looking a little bit strange, and I quickly realised that making this effect work would take a bit of time and more maths, so I put it on hold for the time being.
This is how things looked once I had finished working on the field of vision effect:
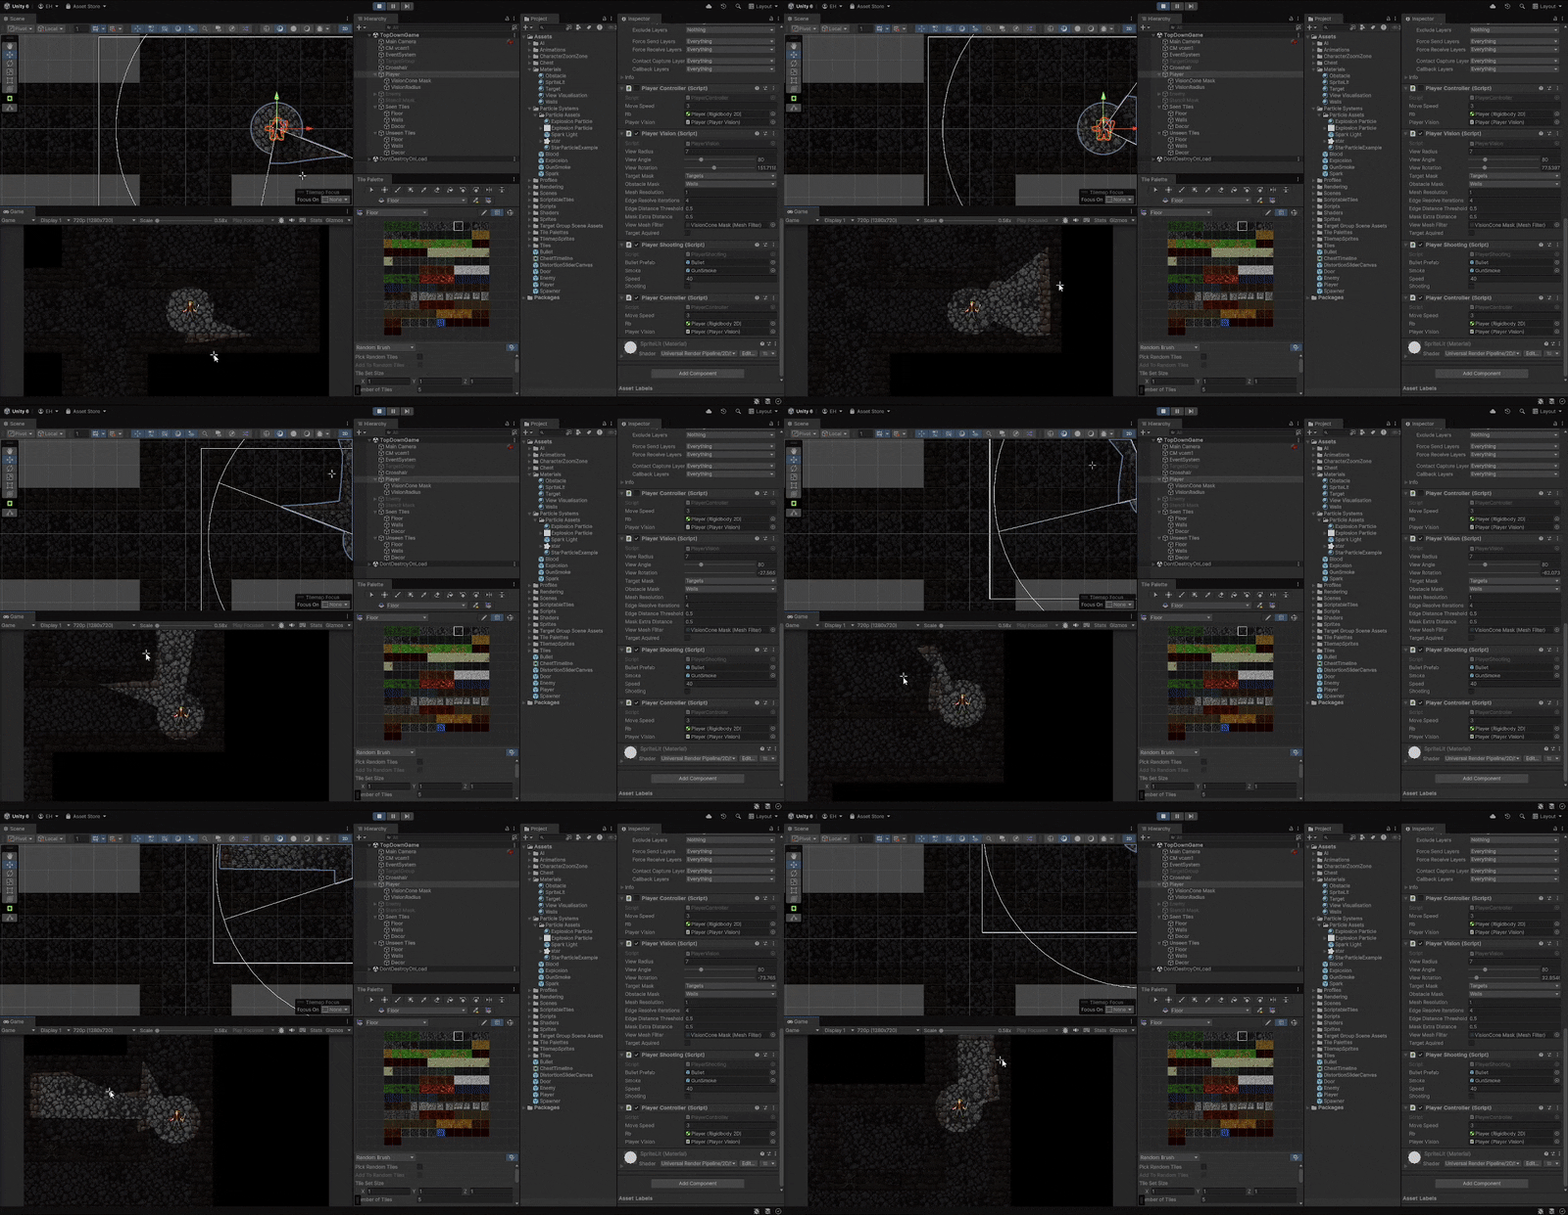
Ignoring the strange wall interactions, I was happy to move on from here.
Now that I had my cool gimmick just about sorted, it was time to start making this into an actual game!
...But as anyone could predict, I got a bit stuck here, I still didn't have a direction for the game that was anything more than my messy notepad file, and I very quickly lost motivation as a result. Since it was also Easter holidays, I ended up not doing much work for 5 days or so, I sorted out a better camera, made a spark effect for the bullet, and created a sprite for my character by layering various sprites on top of a base body and making some of my own pixel art too (I really tried not to make a pirate, but here we are).
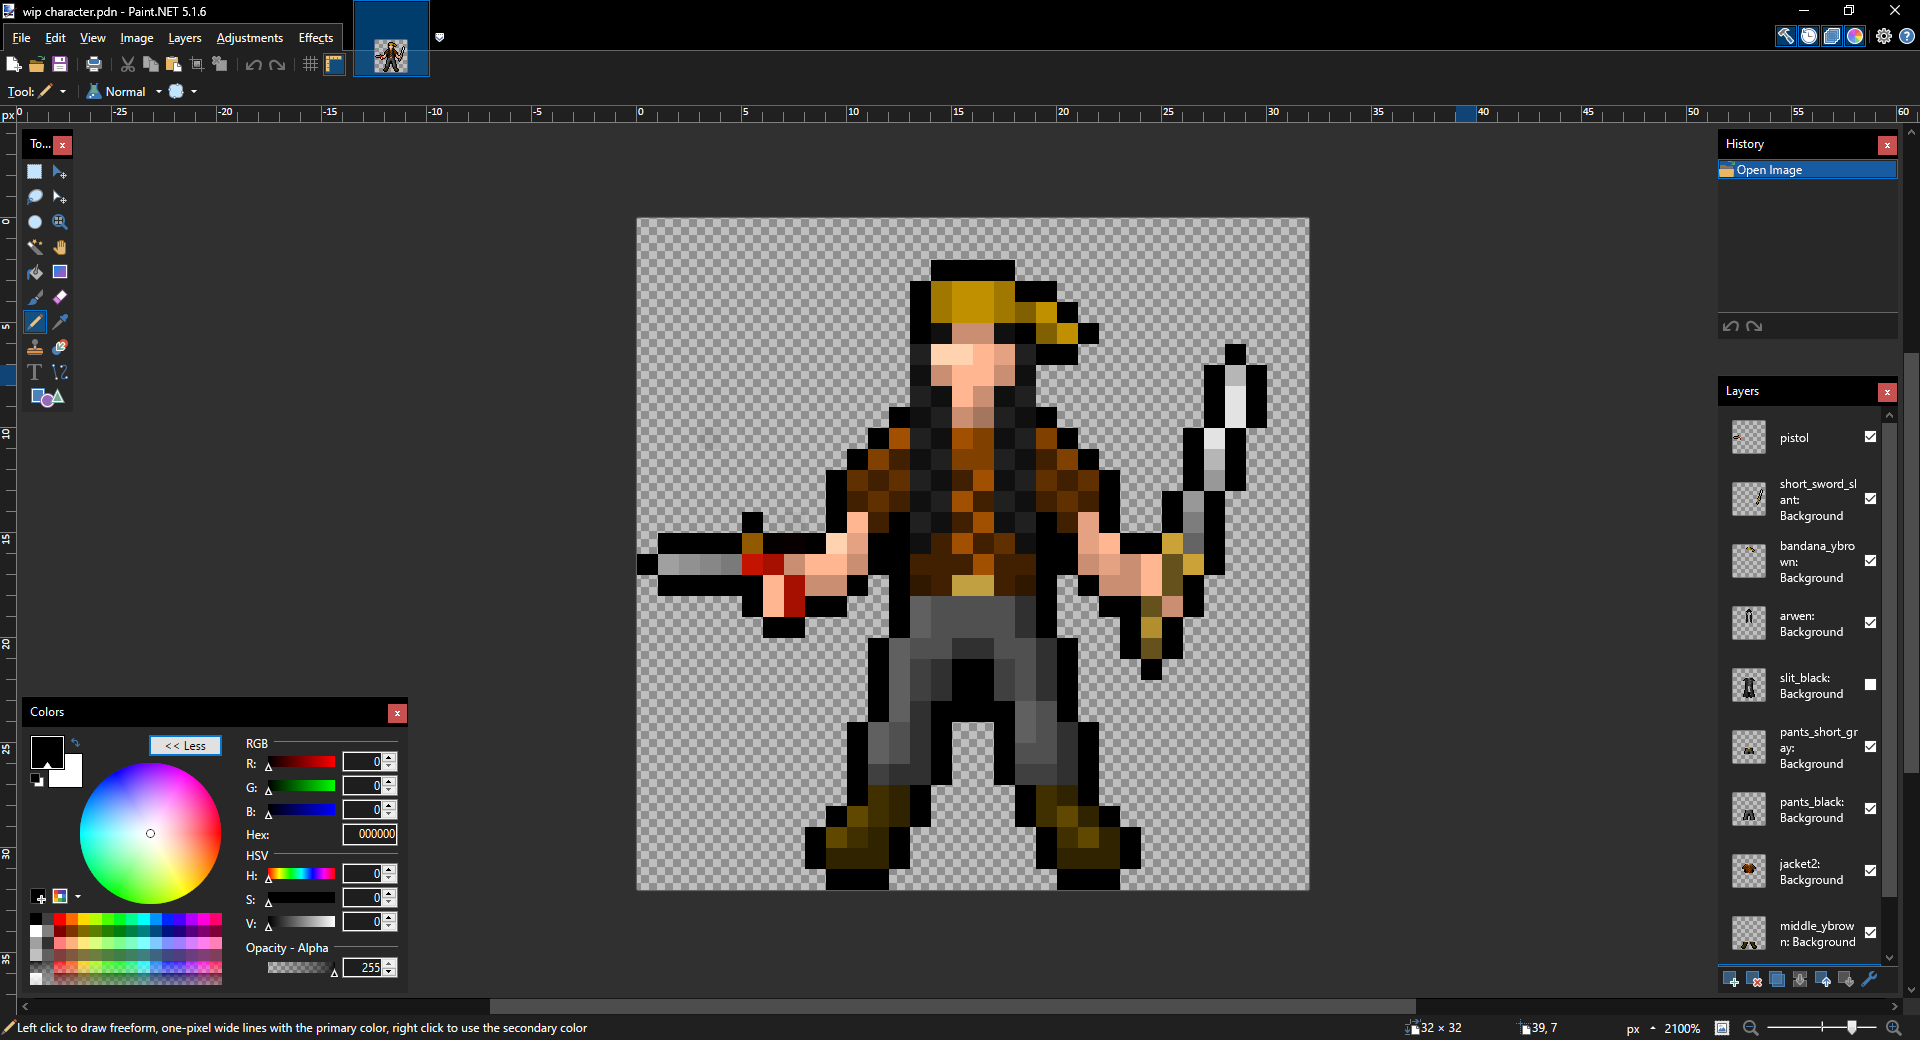
By the end of the week, I had finally started on a pretty important part of my game.
Next focus of mine was to sort out player shooting and melee attacks, which was a nice change of pace, though i did get a bit sidetracked making various particle systems for things like gun smoke, but it didnt take long before I had my first prototype melee and ranged attack system for the player, something I could use to figure out what combat will feel like and where I want to go with it.
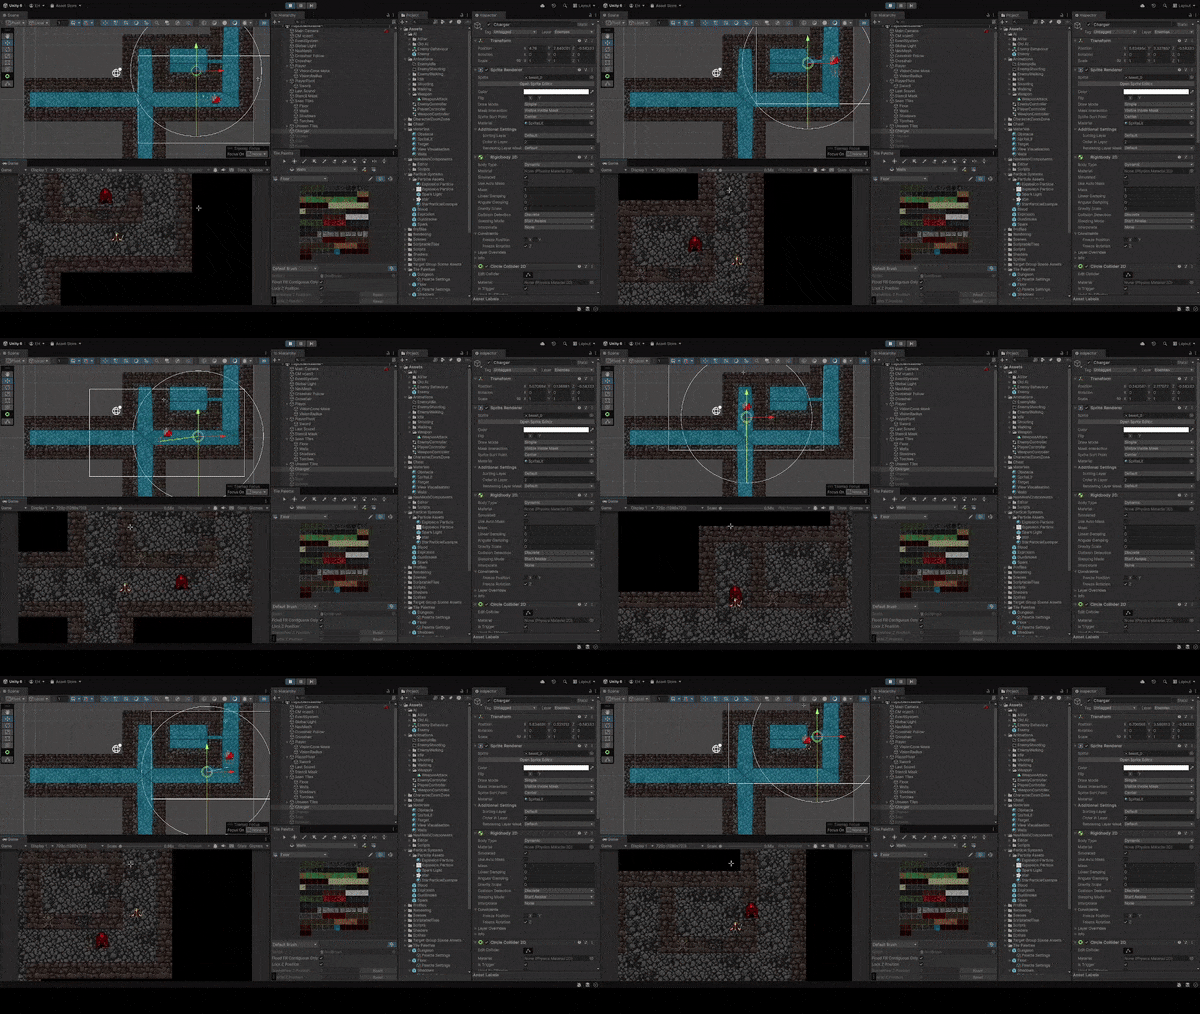
I decided to use Unity's base navmesh feature alongside h8man's Nav Mesh Plus as the basis for all my AI logic, and created a simple script that I could use as a base for any enemy I wanted, without needing to make different versions of the main script or add to it. This made creating different enemy types a lot easier and more enjoyable.
The first enemy I created utilised my base AI script alongside a very basic line of sight script that had just a view radius, a 'target' layer, an 'obstruction' layer and a gameobject field for the enemy's target. Putting this together with a navmesh agent gave me a very simple enemy that will chase the player if it has line of sight to them, and will travel to the player's last known location if line of sight is broken (actually a side effect that ended up being exactly what I wanted!).
Old week 1 sprites used are from Szadi Art's Rogue Fantasy "Catacombs": https://szadiart.itch.io/rogue-fantasy-catacombs
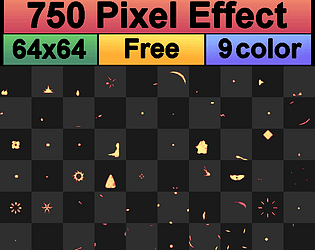
Pixel animations are from BDragon1727's 750 Effect and FX Pixel All: https://bdragon1727.itch.io/750-effect-and-fx-pixel-all
All other sprites used are from the fantastic Dungeon Crawl 32x32 tilset: https://opengameart.org/content/dungeon-crawl-32x32-tiles-supplemental
Did you like this post? Tell us


Leave a comment
Log in with your itch.io account to leave a comment.
Can you please post these as individual devlogs in future, doing this one as single devlog (not attached to a game) that is updated over time makes it difficult to determine the submission time of the devlog
gaming