

Hey I'm back. In this blog I want to talk about how to achieve highly accurate line art without without literally tracing reference and instead iteratively correcting linework.
So I drew this drophyd creature as an example from the Ratchet and Clank series. Drophyds are a species of intelligent talking alien fish and they can operate mech suits or pilot aircraft for battle. Here's some examples.
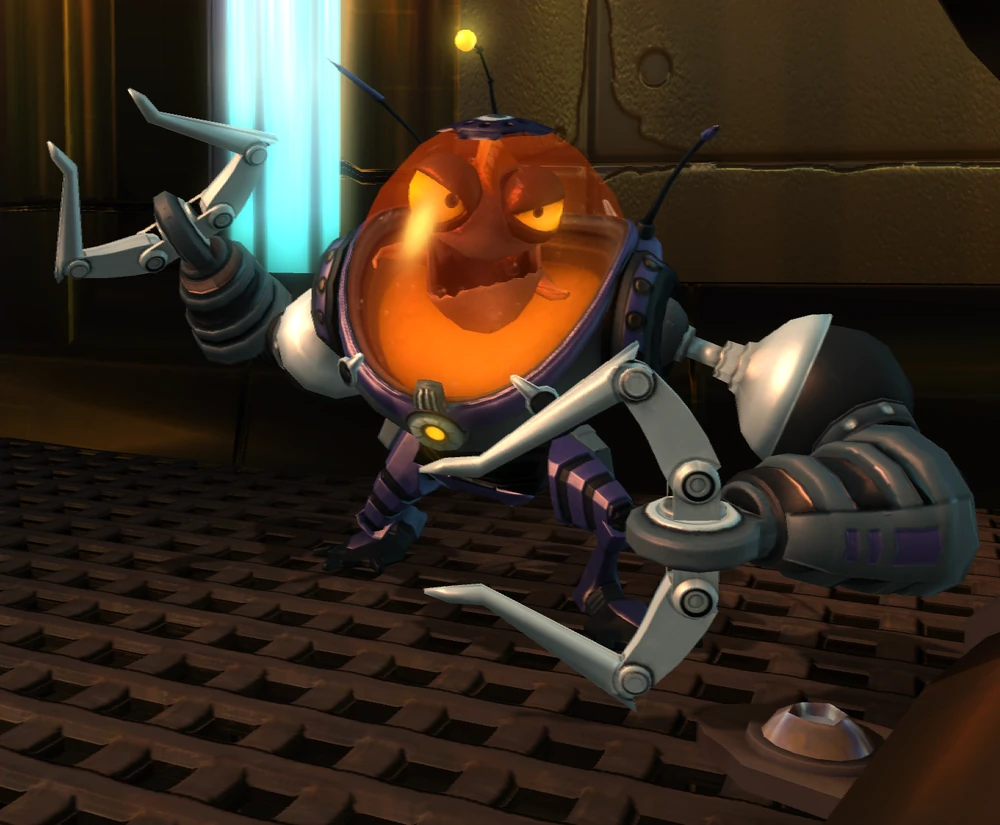
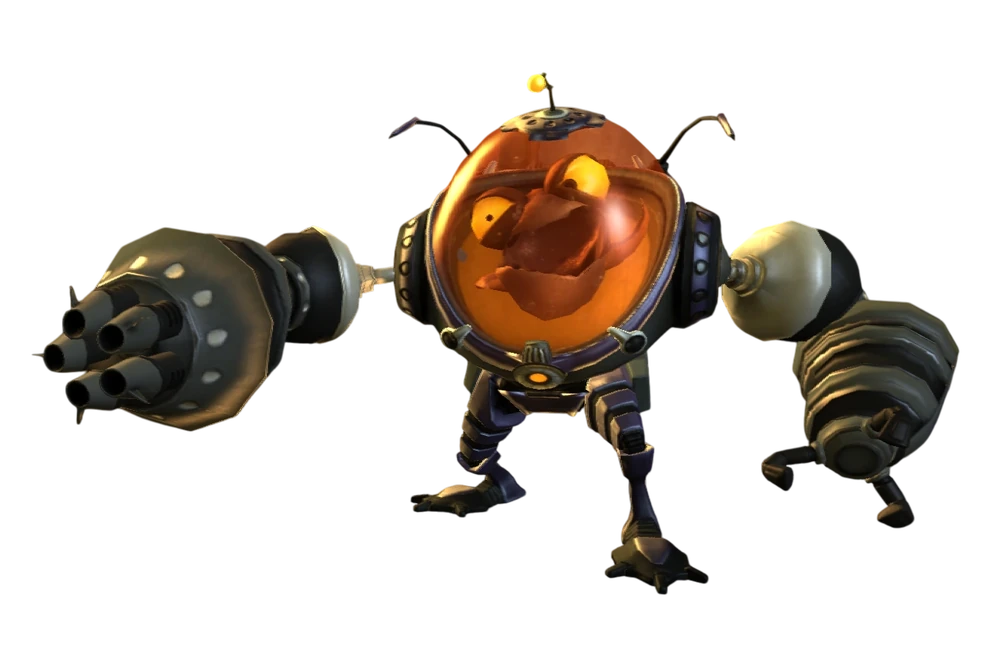
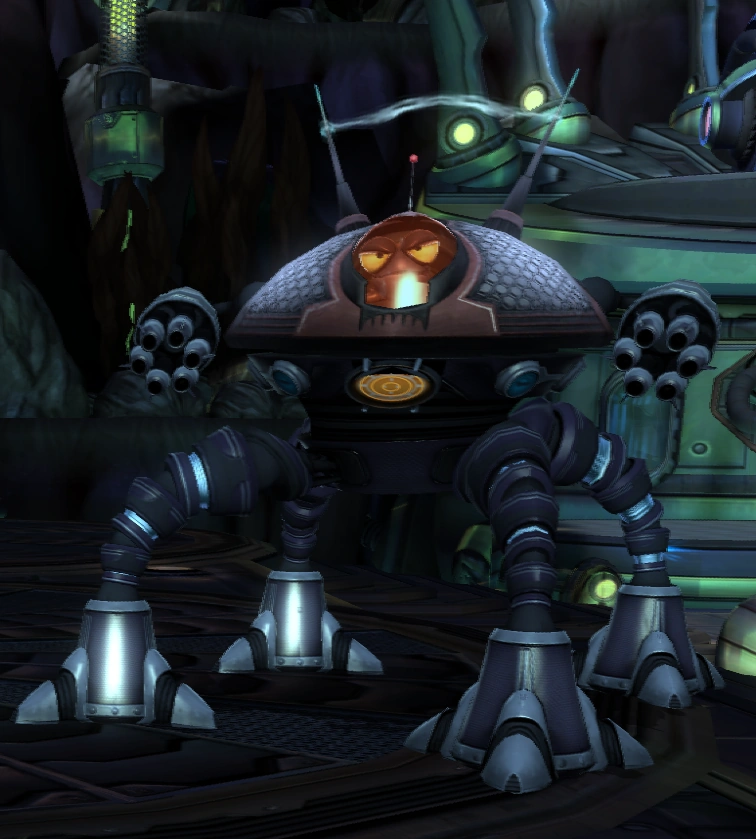
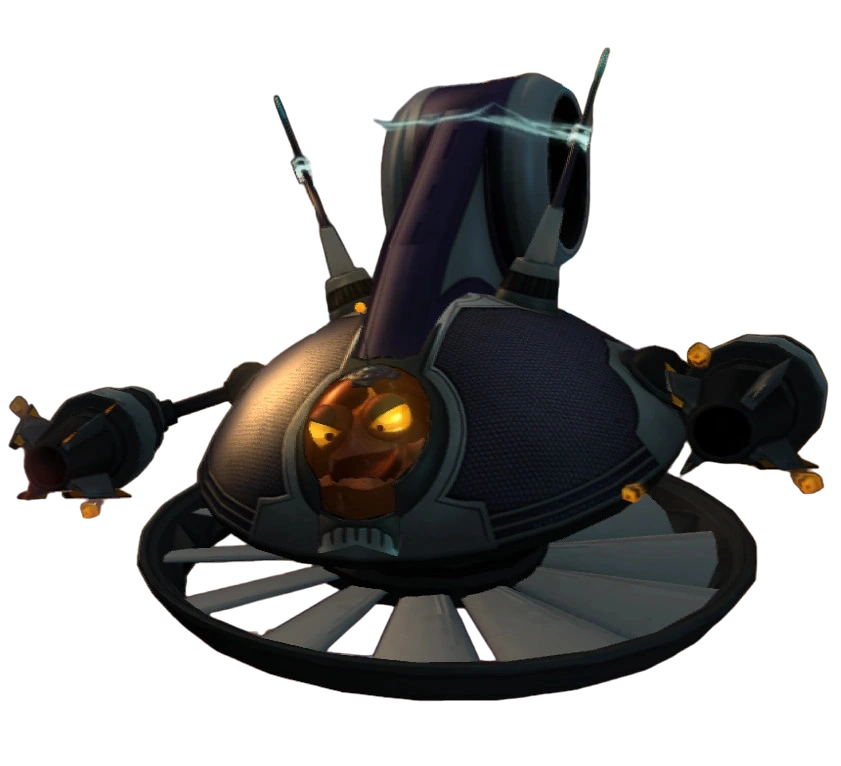
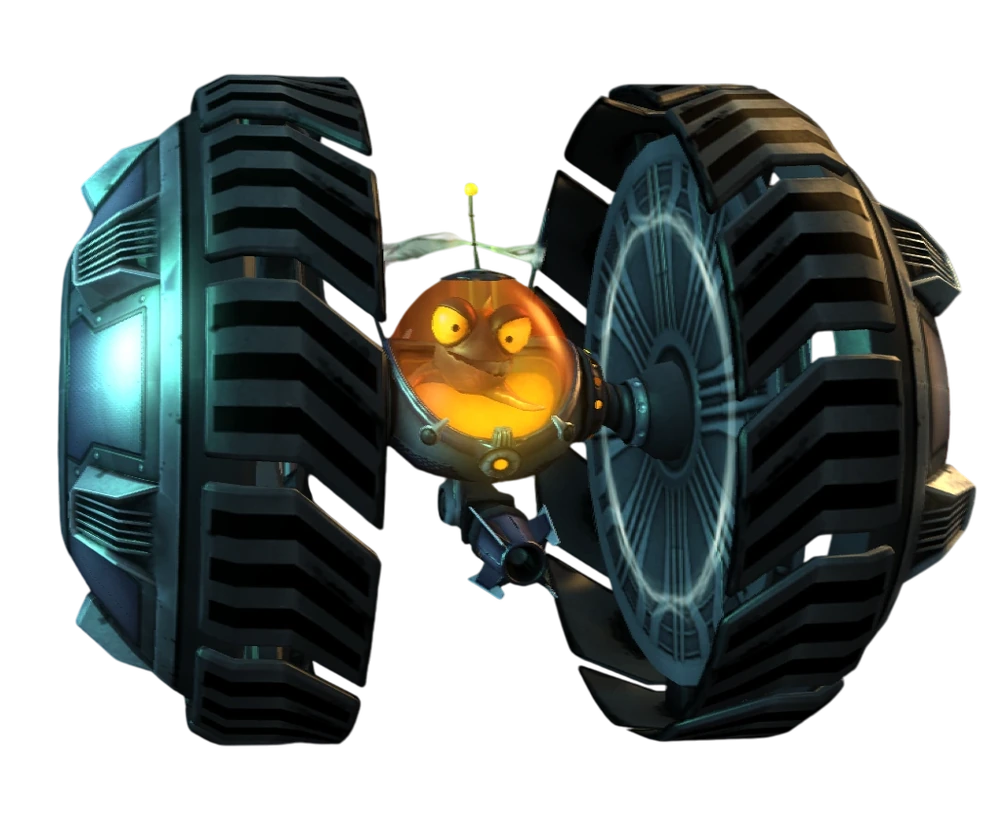
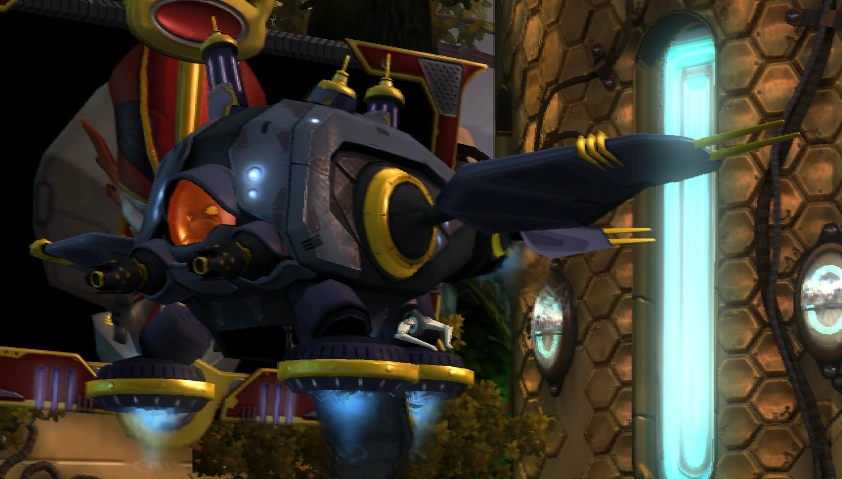
For this blog, I'm using just the fish alone without any extra battle gear because it's pretty simple, not too time consuming, and will help me explain how to create accurate line art.
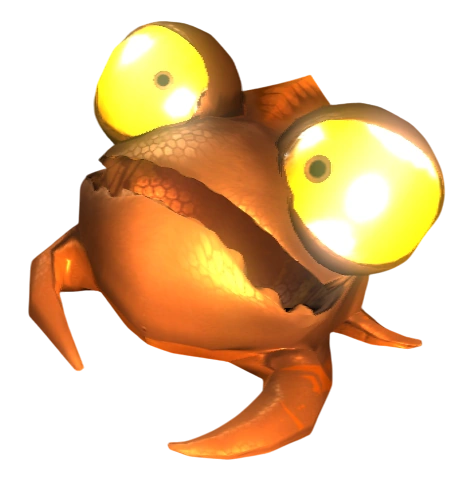
Lines can establish bounds that help you estimate measurements for smaller details (proportions, positioning, spacing, angles, perspective, etc.). For example, if we draw a basic shape that represents this fish creature, then we know mouth and eyes generally go inside the circle and the fins go outside (although the eyes are pretty bulgy and stick out of the circle).
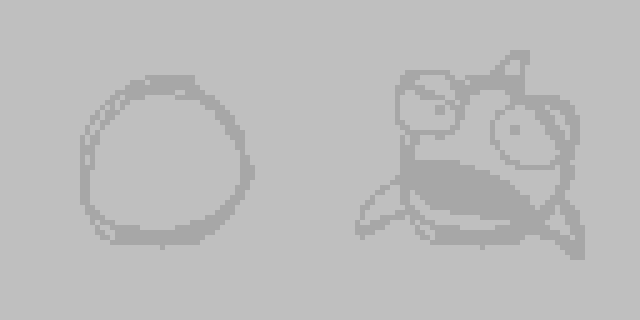
Keep Comparing And Iterating
So that's nice and all, but that was just to get started... the fish isn't actually a circle. A circle was just a good template. To make the line art more accurate, we need to spot inconsistencies between our sketch and the original reference image.
How To Spot Inaccuracies
To spot inaccuracies, it can be pretty hard as a beginner because we often just look at the entire line sketch and can't figure out what's wrong, but once you make a habit of comparing proportions (width/height), position (X/Y), and spacing of lines of the details in relation to each other, you will have an easier time.
Proportion Comparison Example
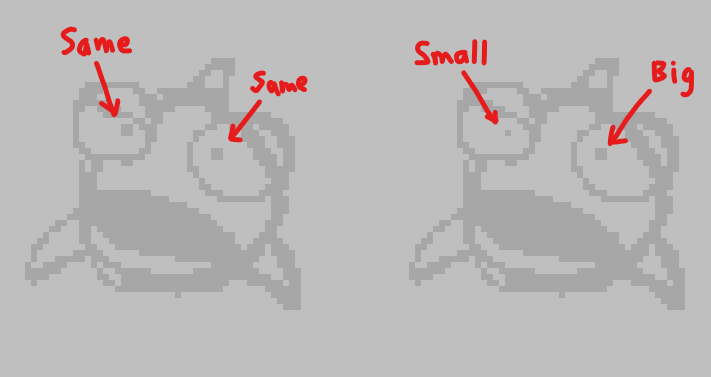
For example, a proportion flaw we currently have here is that the fish pupils are currently the same size, but one is supposed to be smaller than the other. We wouldn't notice that if we only pay attention to each pupil in isolation.
Position Comparison Example
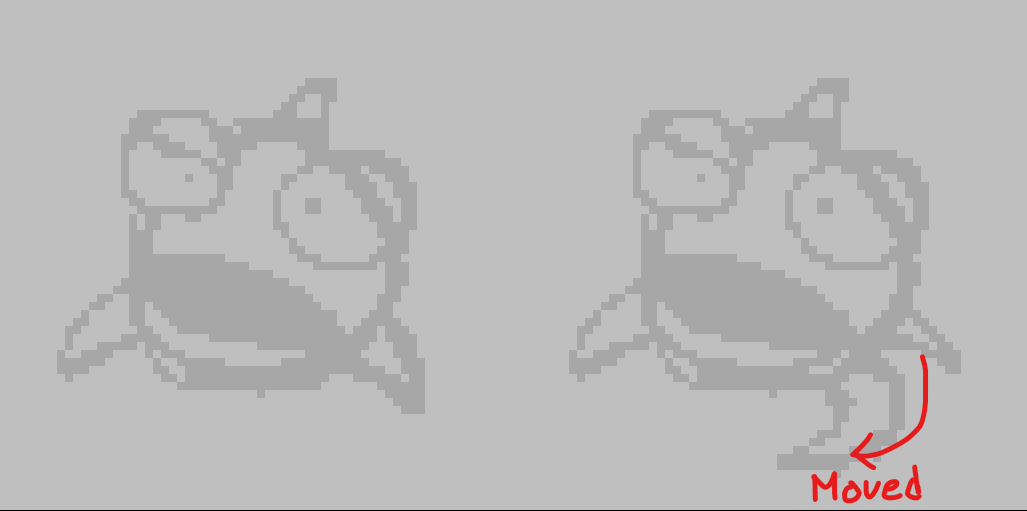
A positioning flaw we have right now is the fin on the right, and in isolation it might be hard to notice, but if we compare the fin position with the fish's right side of his mouth (or dimple area) as a reference point, it's easier to make sense of. We'd have to move his fin over slightly, and this actually reveals his other fin in back too.
Spacing Comparison Example
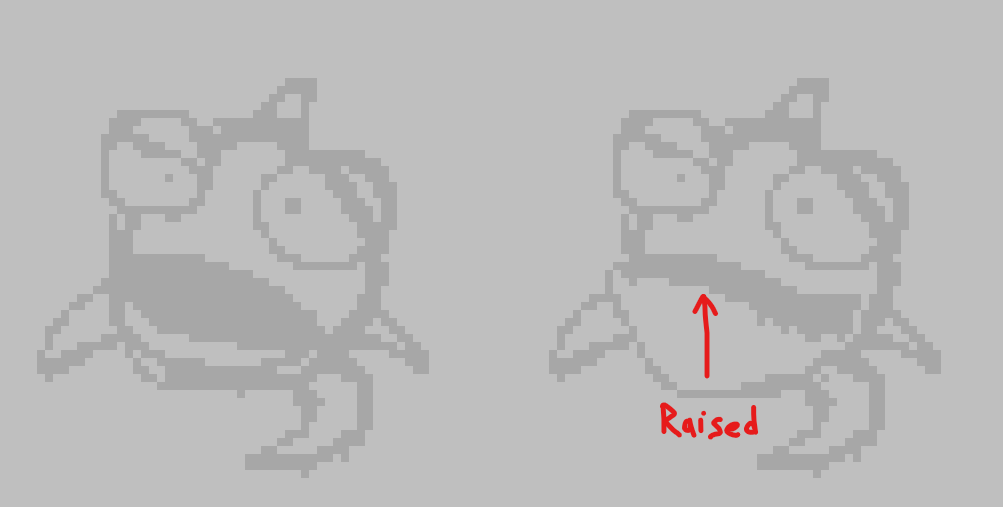
In this example, we can compare the space between his bottom-most line and his lower lip from our sketch to the same exact thing but instead from the reference image, then we'll notice that the space should be much larger and that his lower lip should be raised or tucked much higher.
My Actual Iteration Process I Went Through
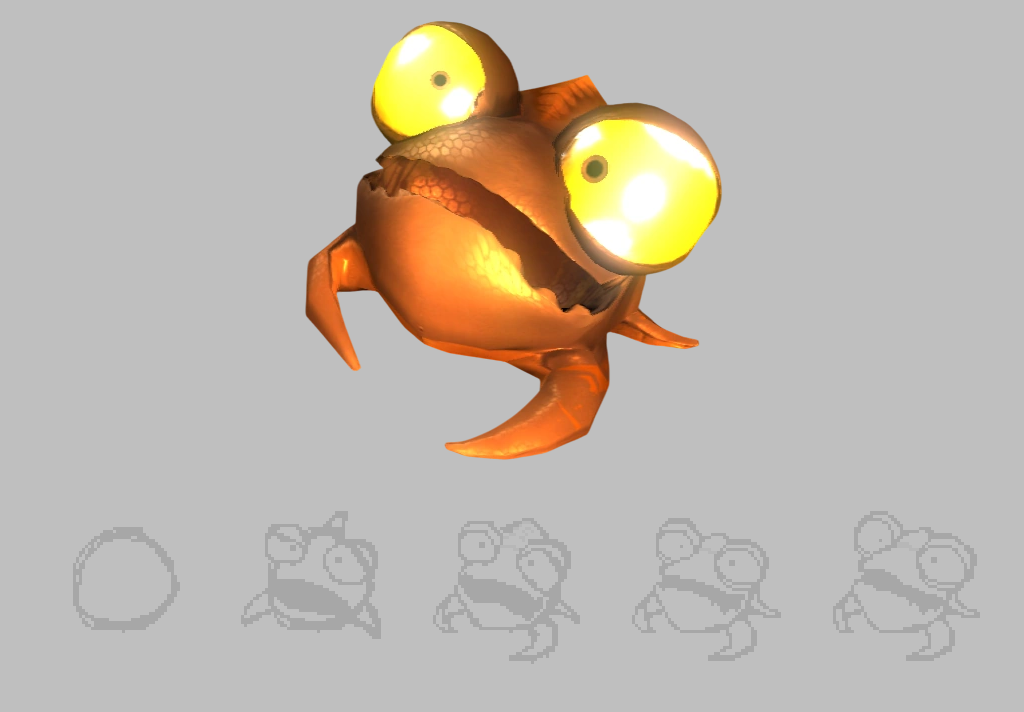
I just illustrated those examples to get my points across, but in actual practice, these were the iterations I got, and I think the final example on the right is pretty accurate to the original reference image.
I hope those line art tips helps and thanks for reading.