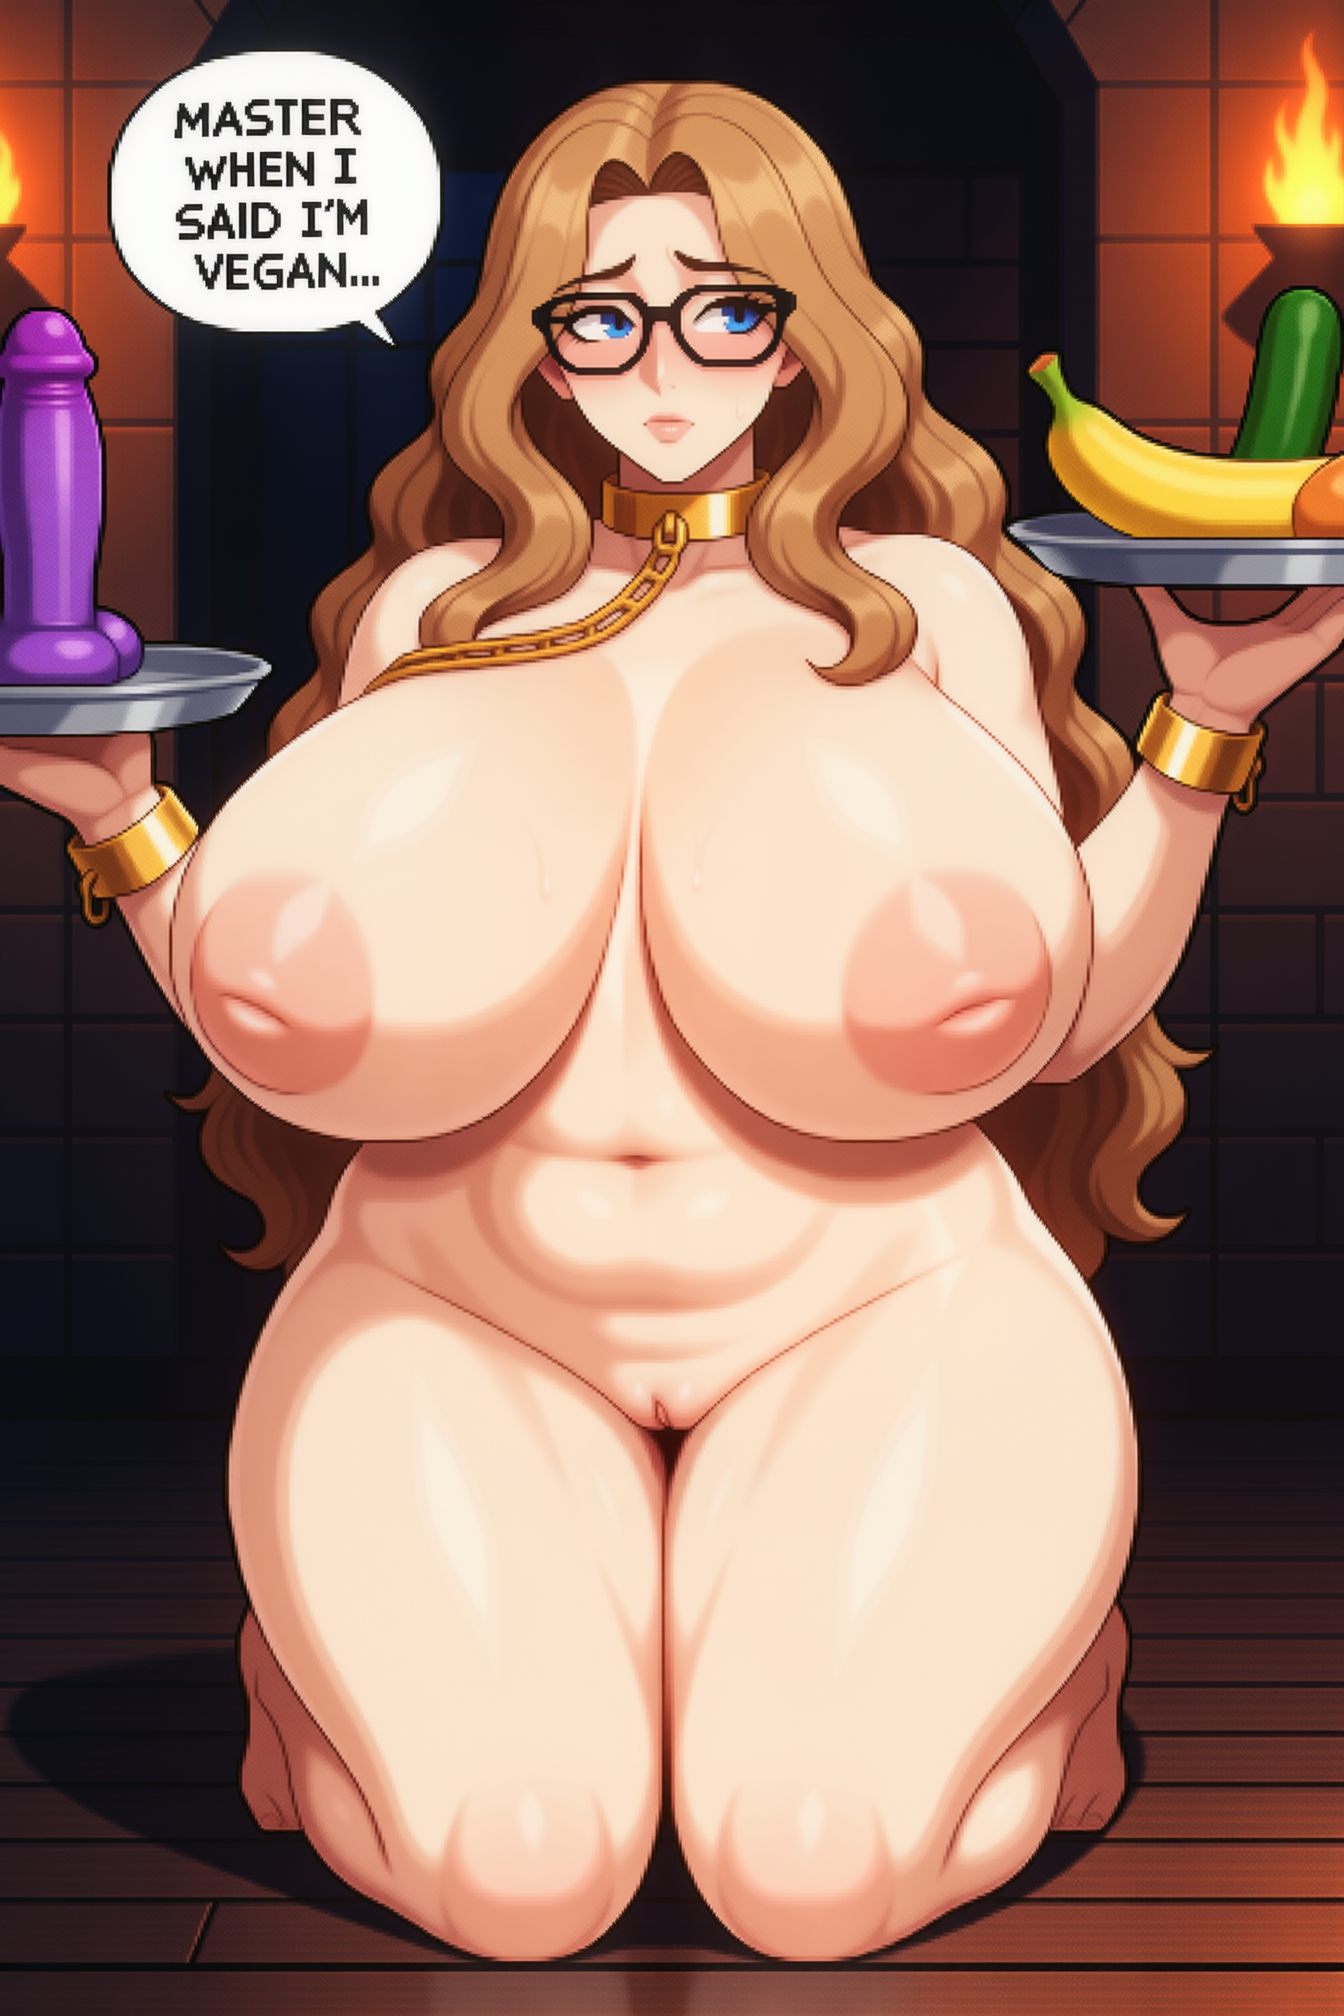
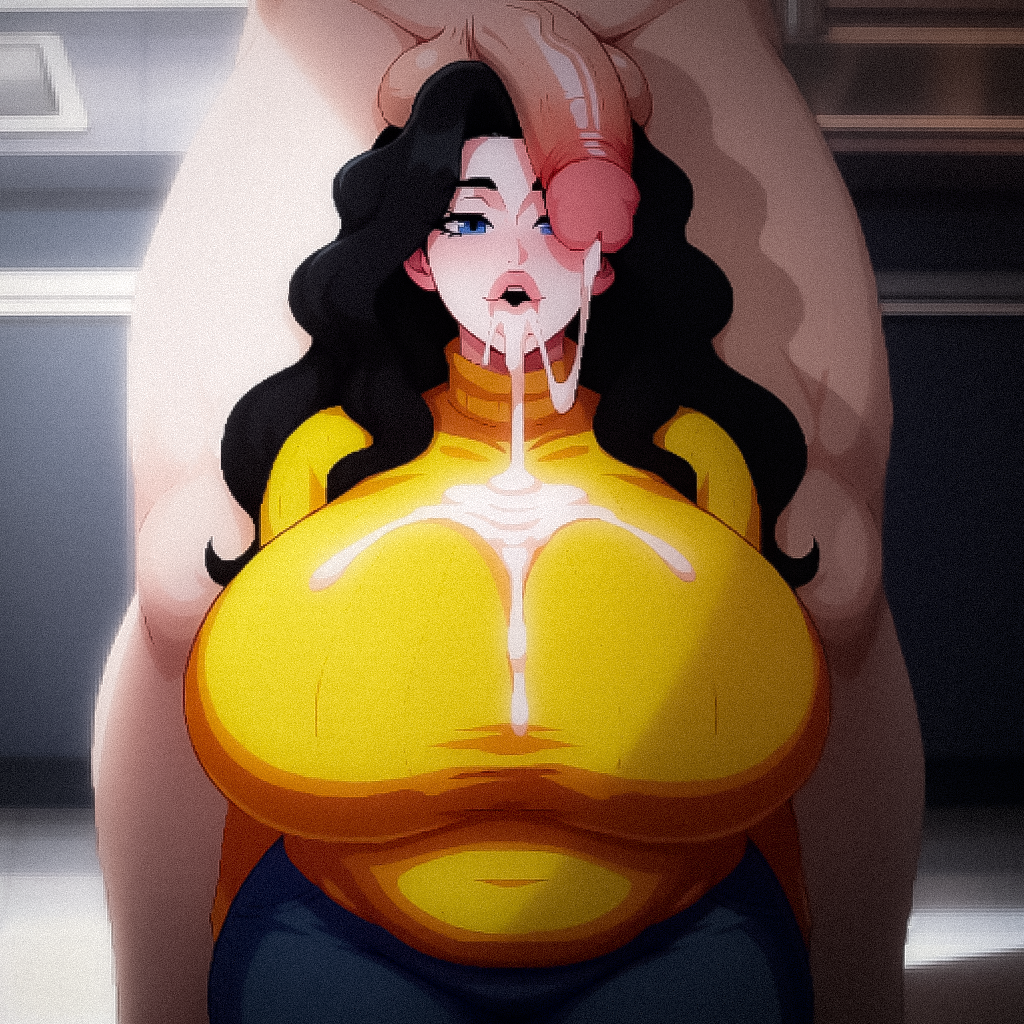
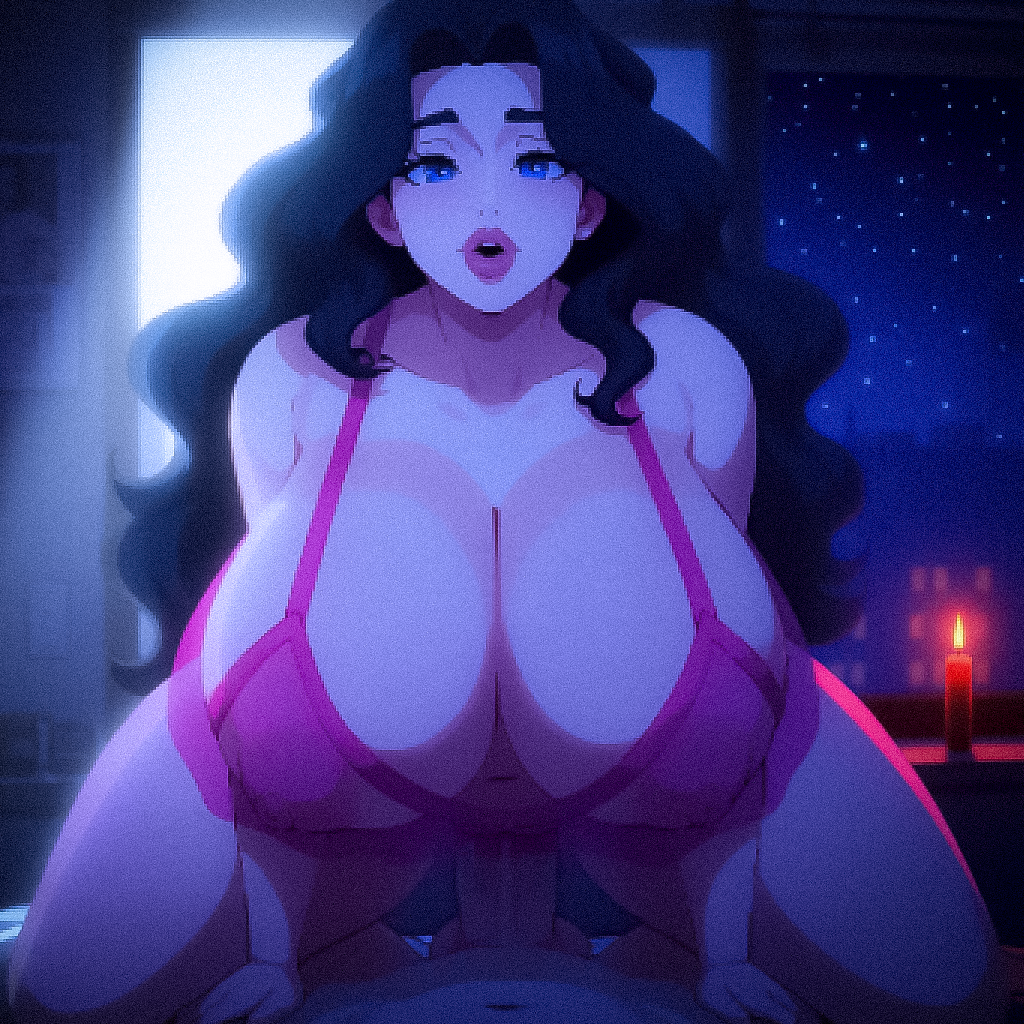
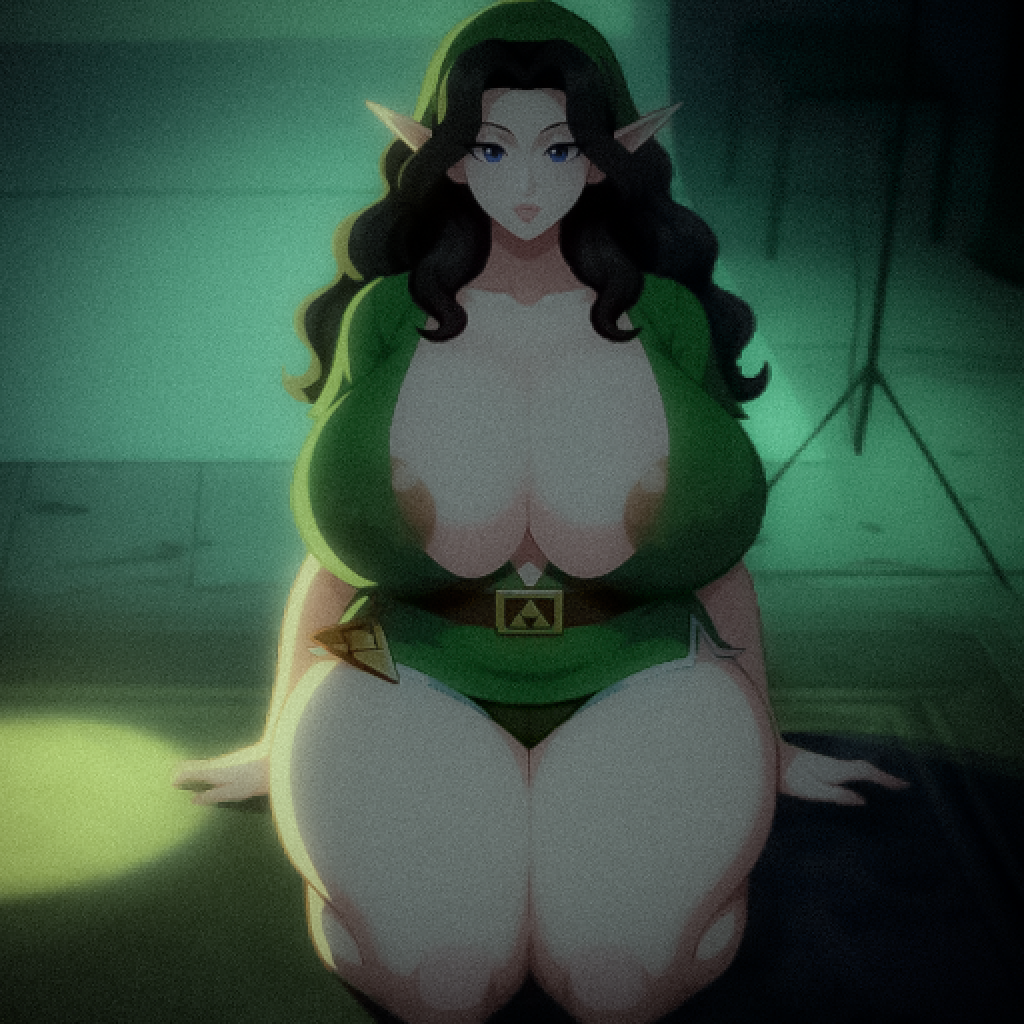
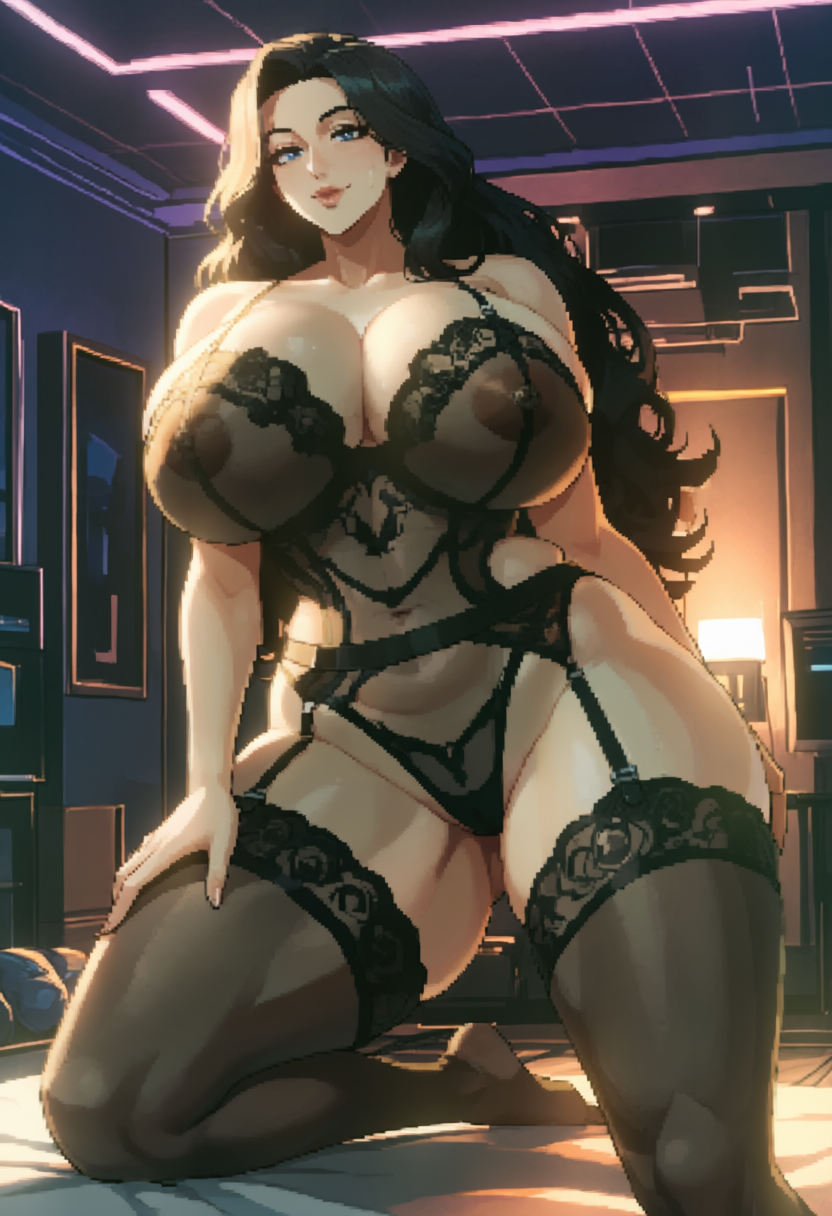
Perv has asked for futa content, but has not been very descriptive in what they want to see
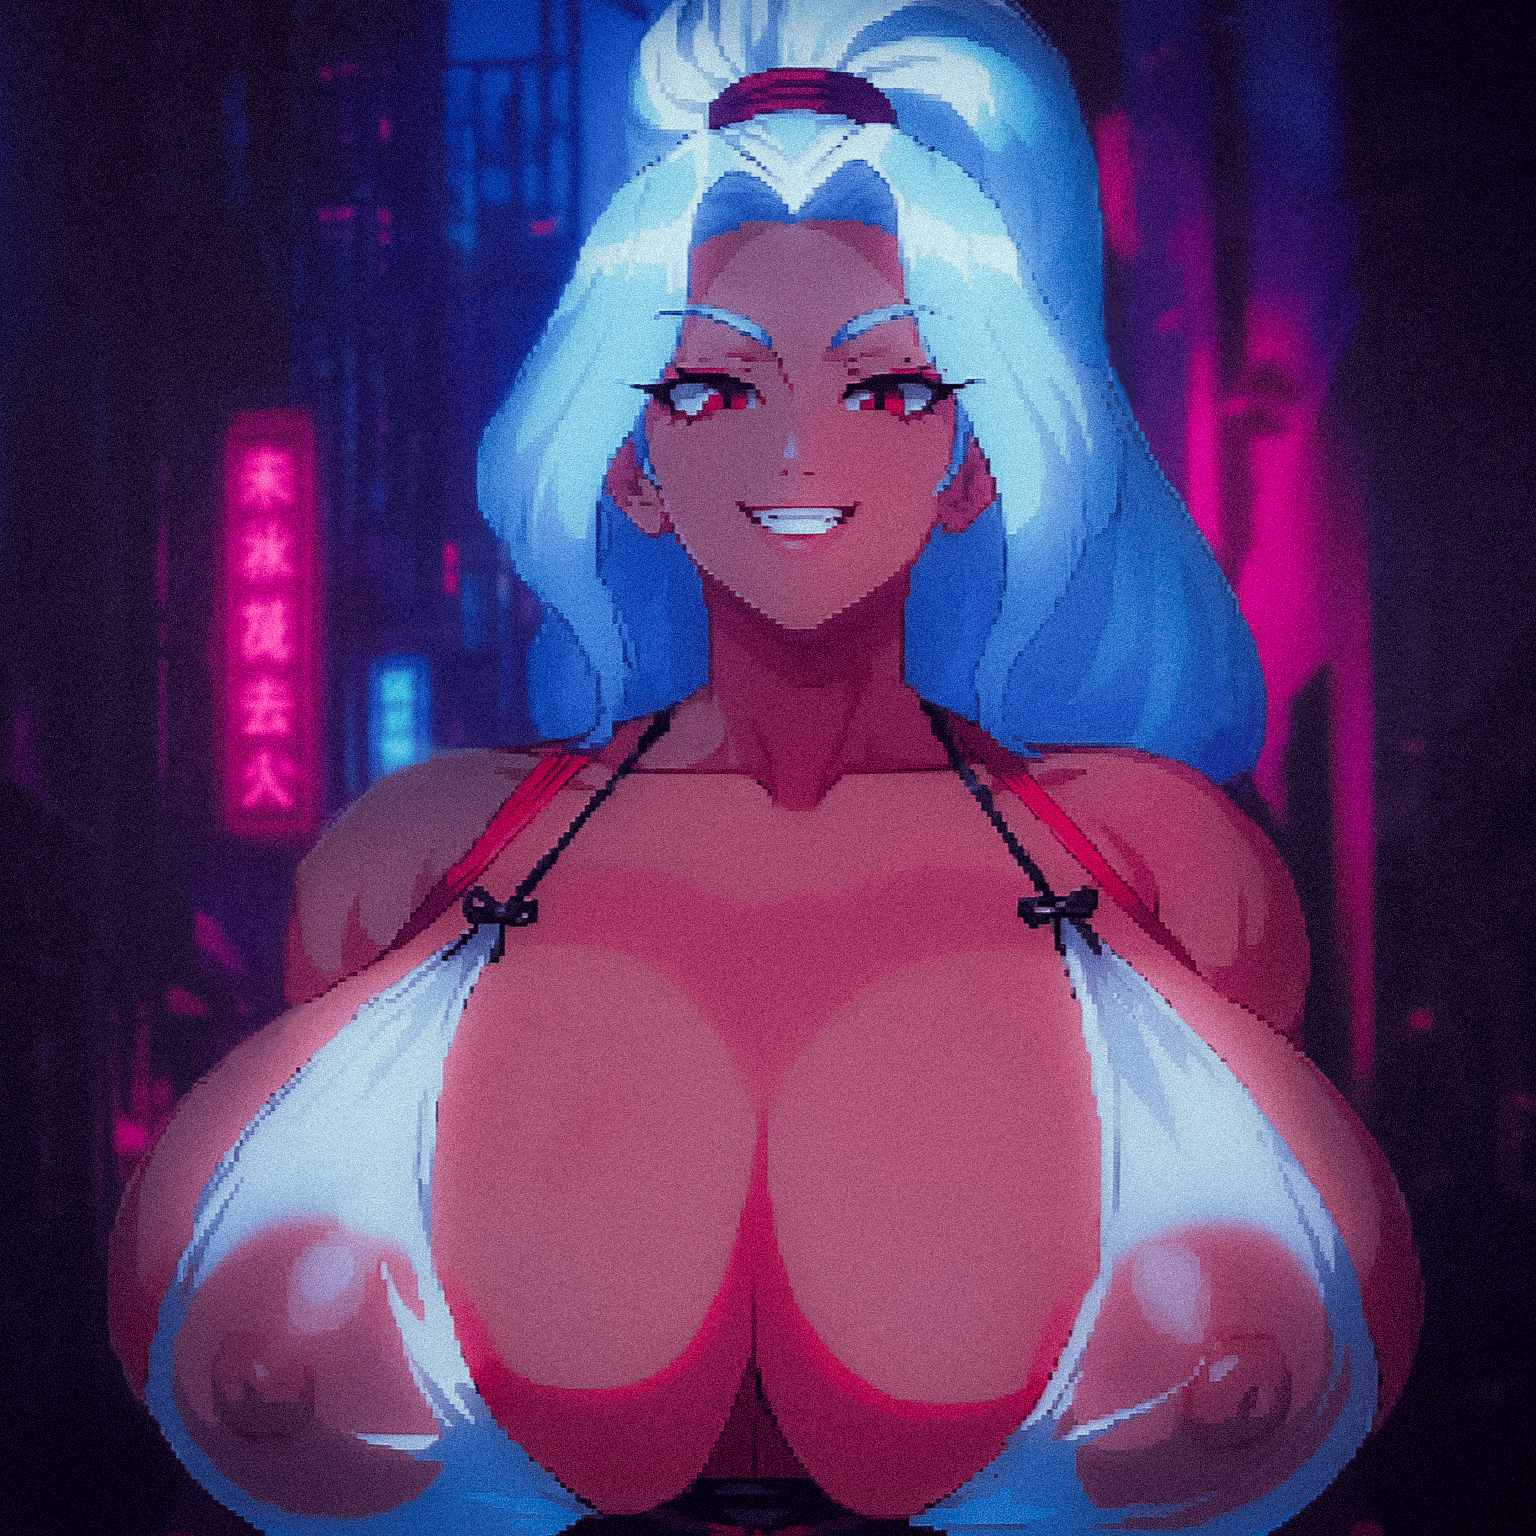
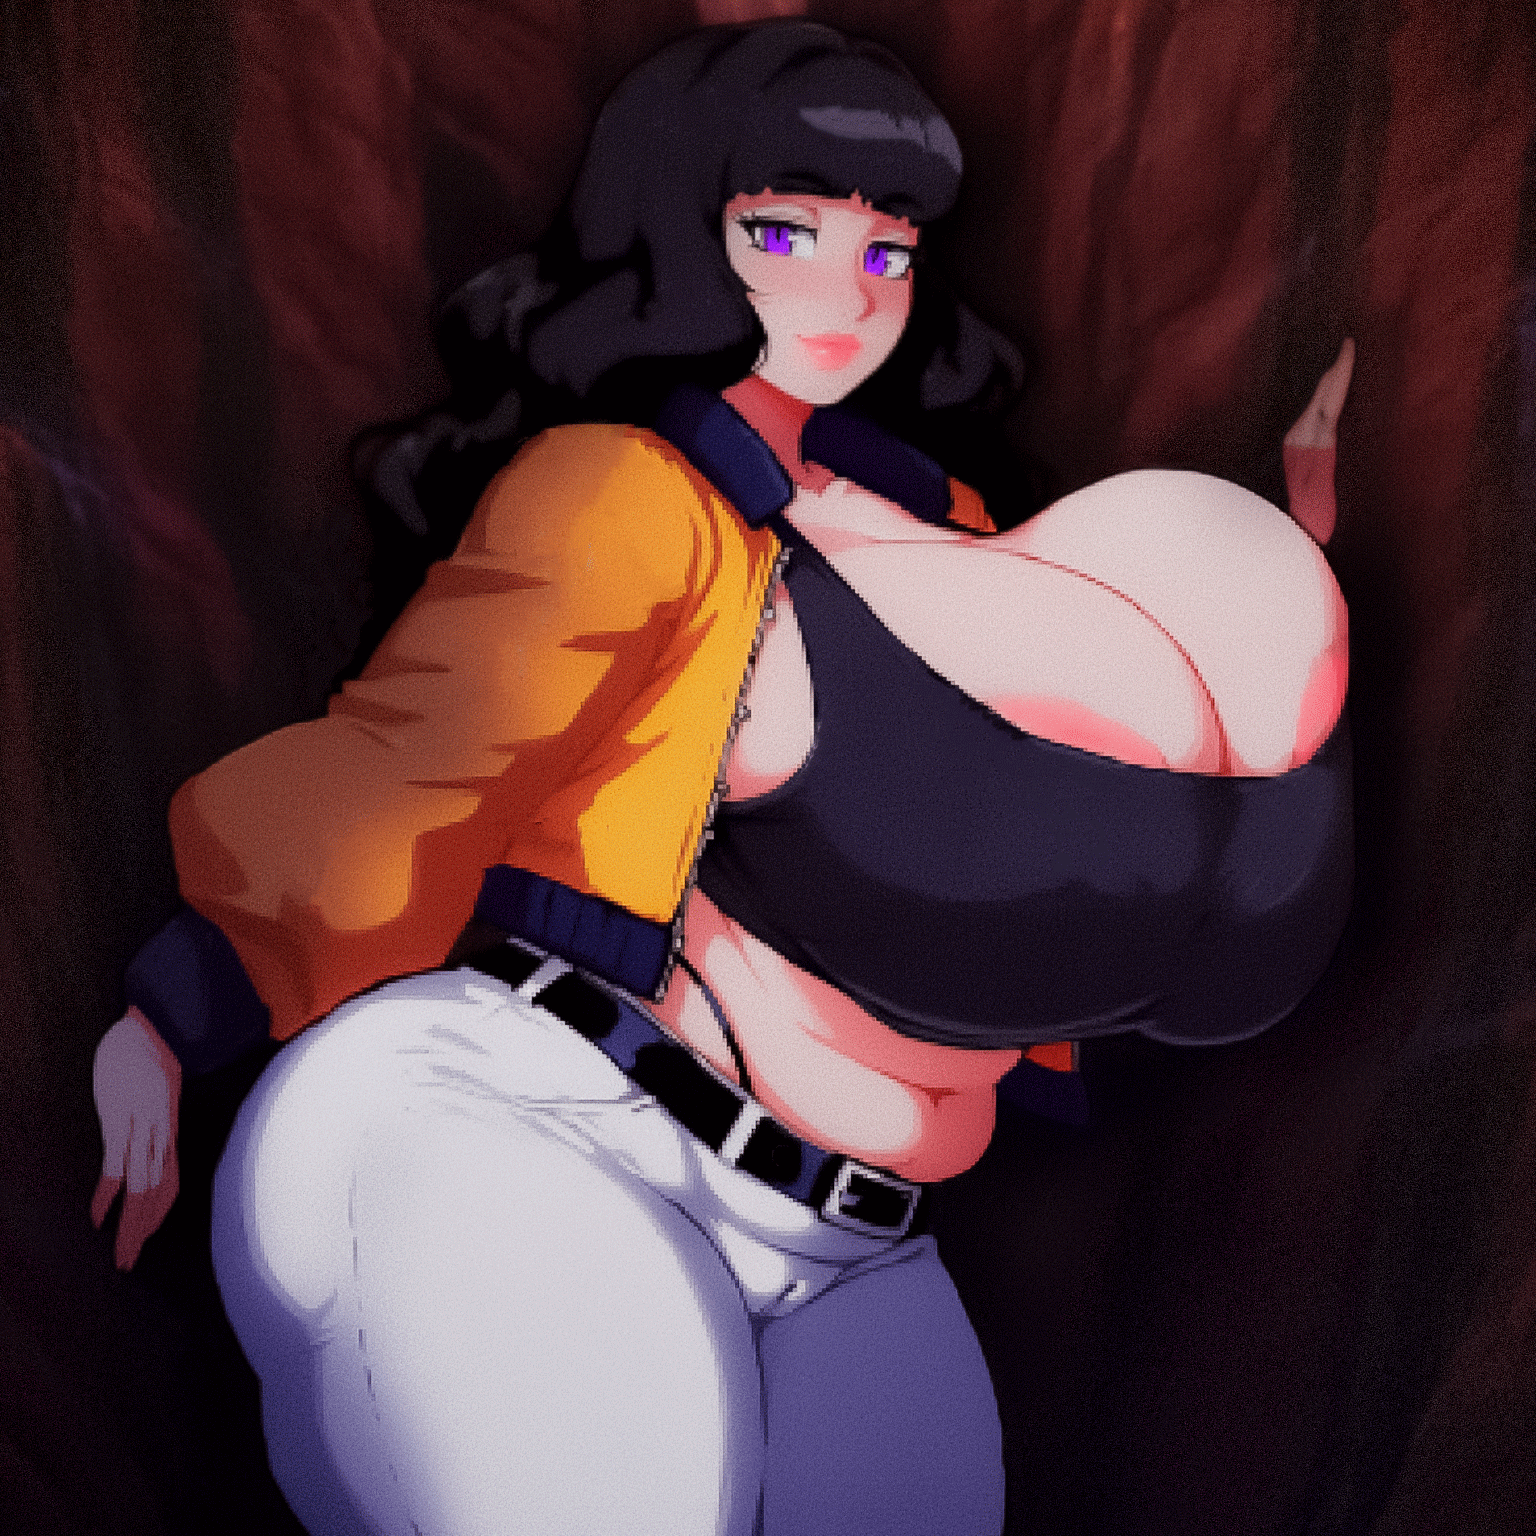
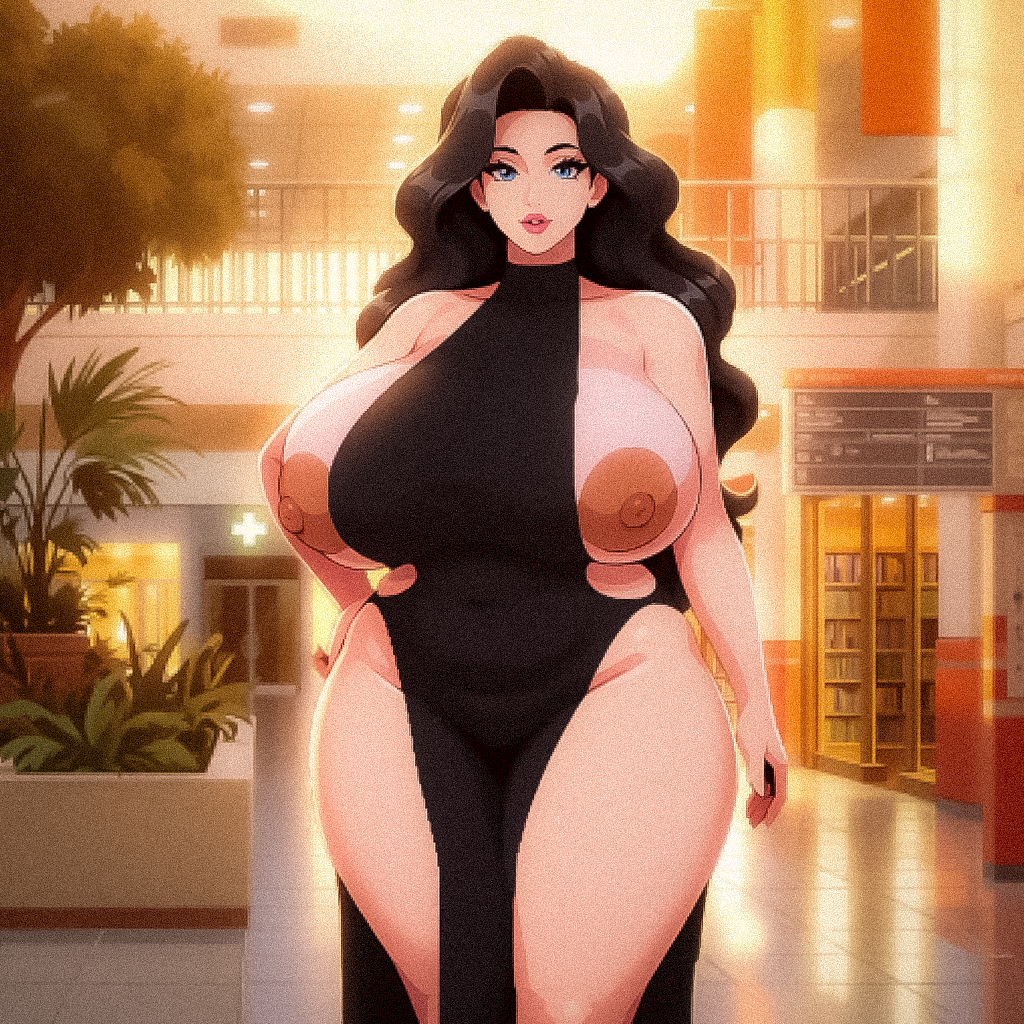
I actually drew Phoenix some months ago.
Normally I would send you an old gen but this one is rather really recent.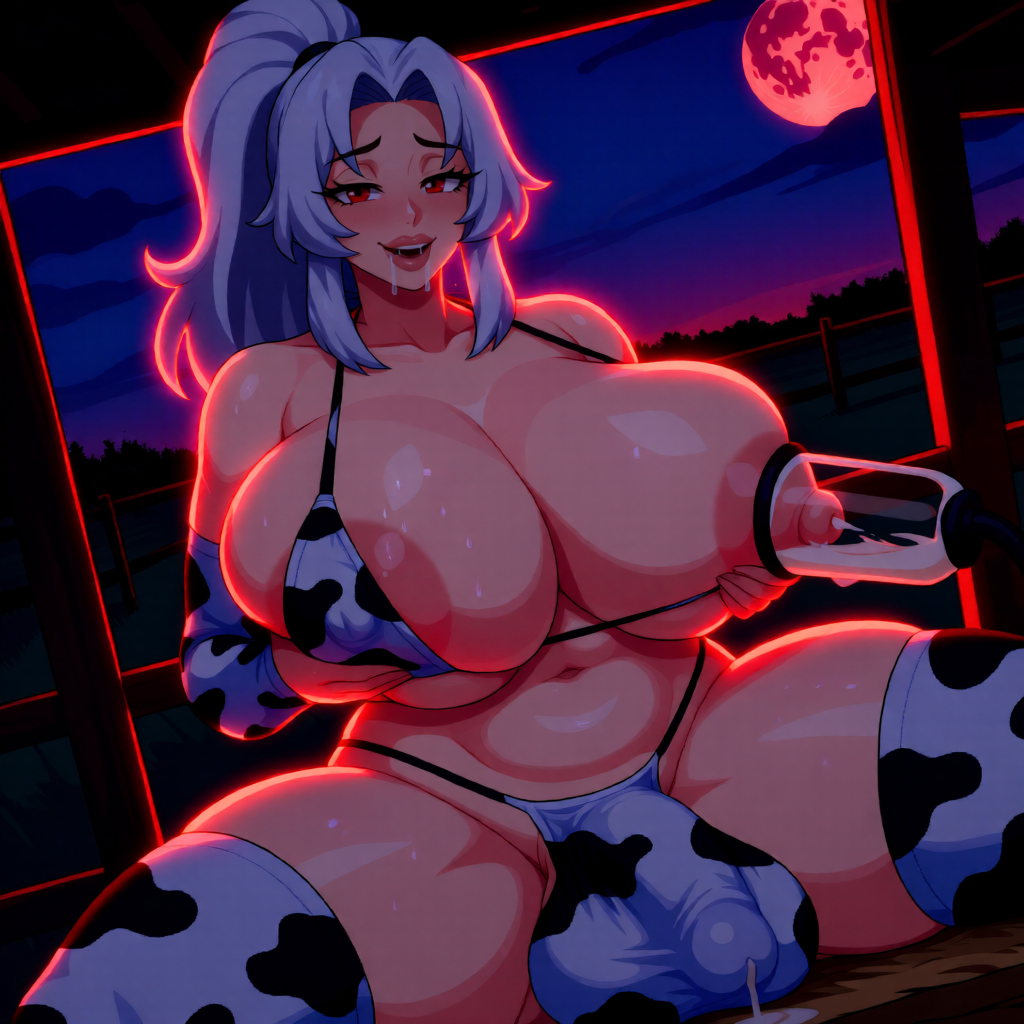
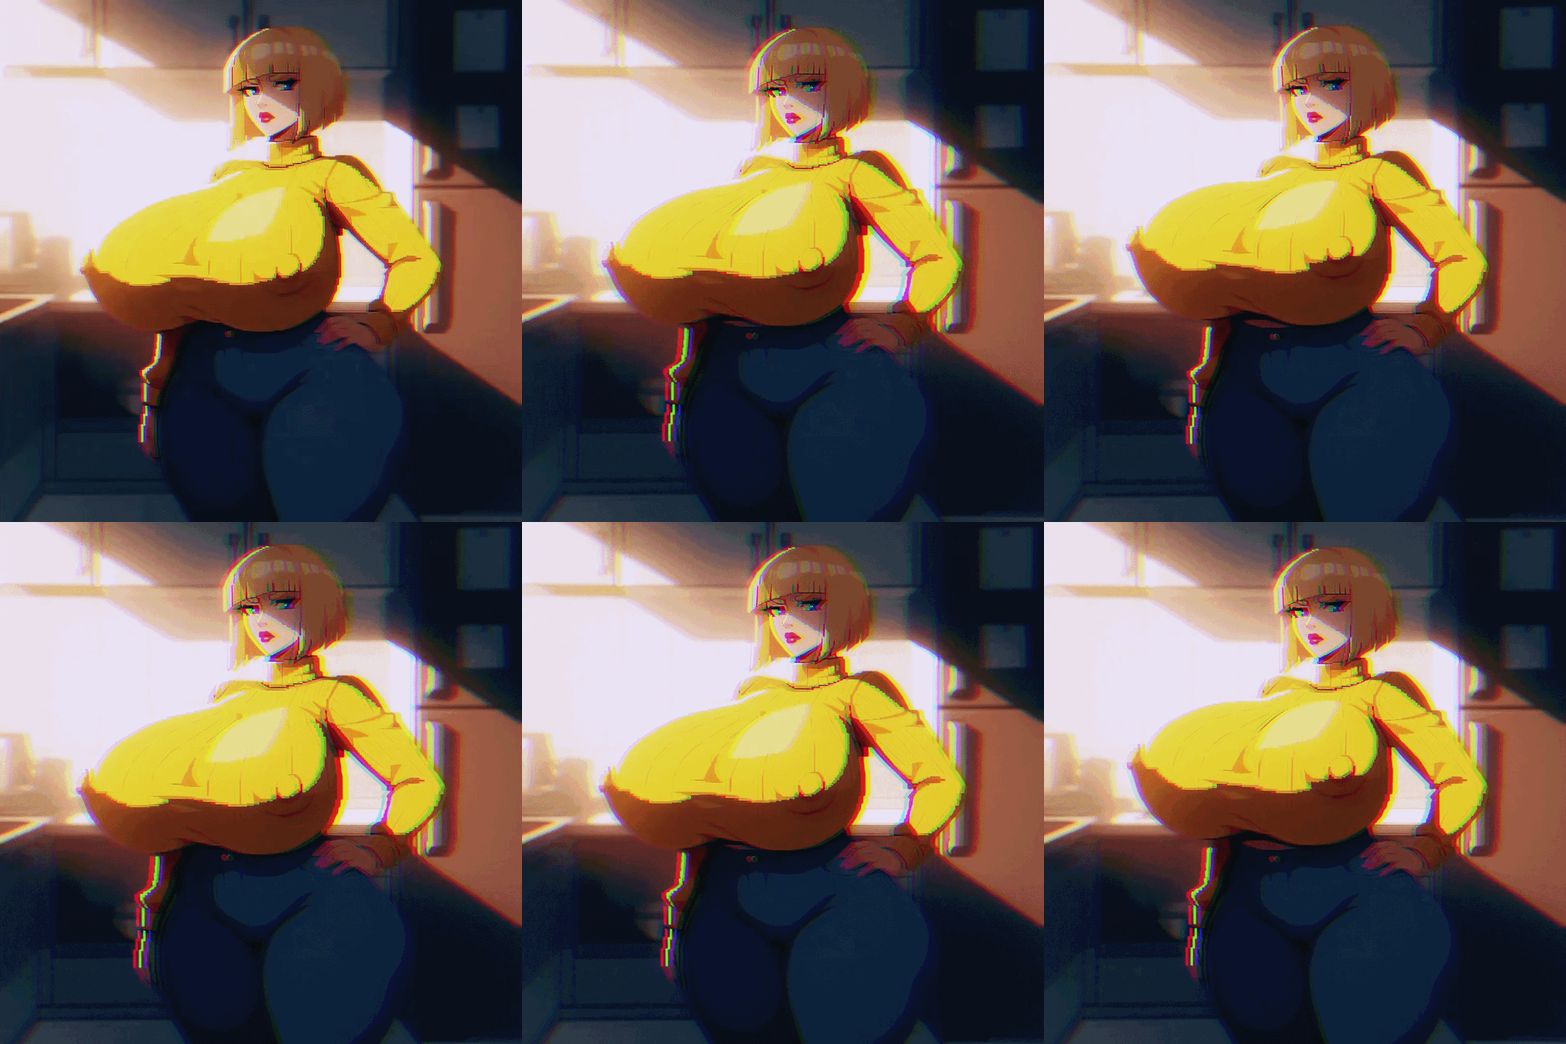
Just burnt ages into a short animation for Frankie that turned out to be shit, so will go back to it later. For the time being here is the ref
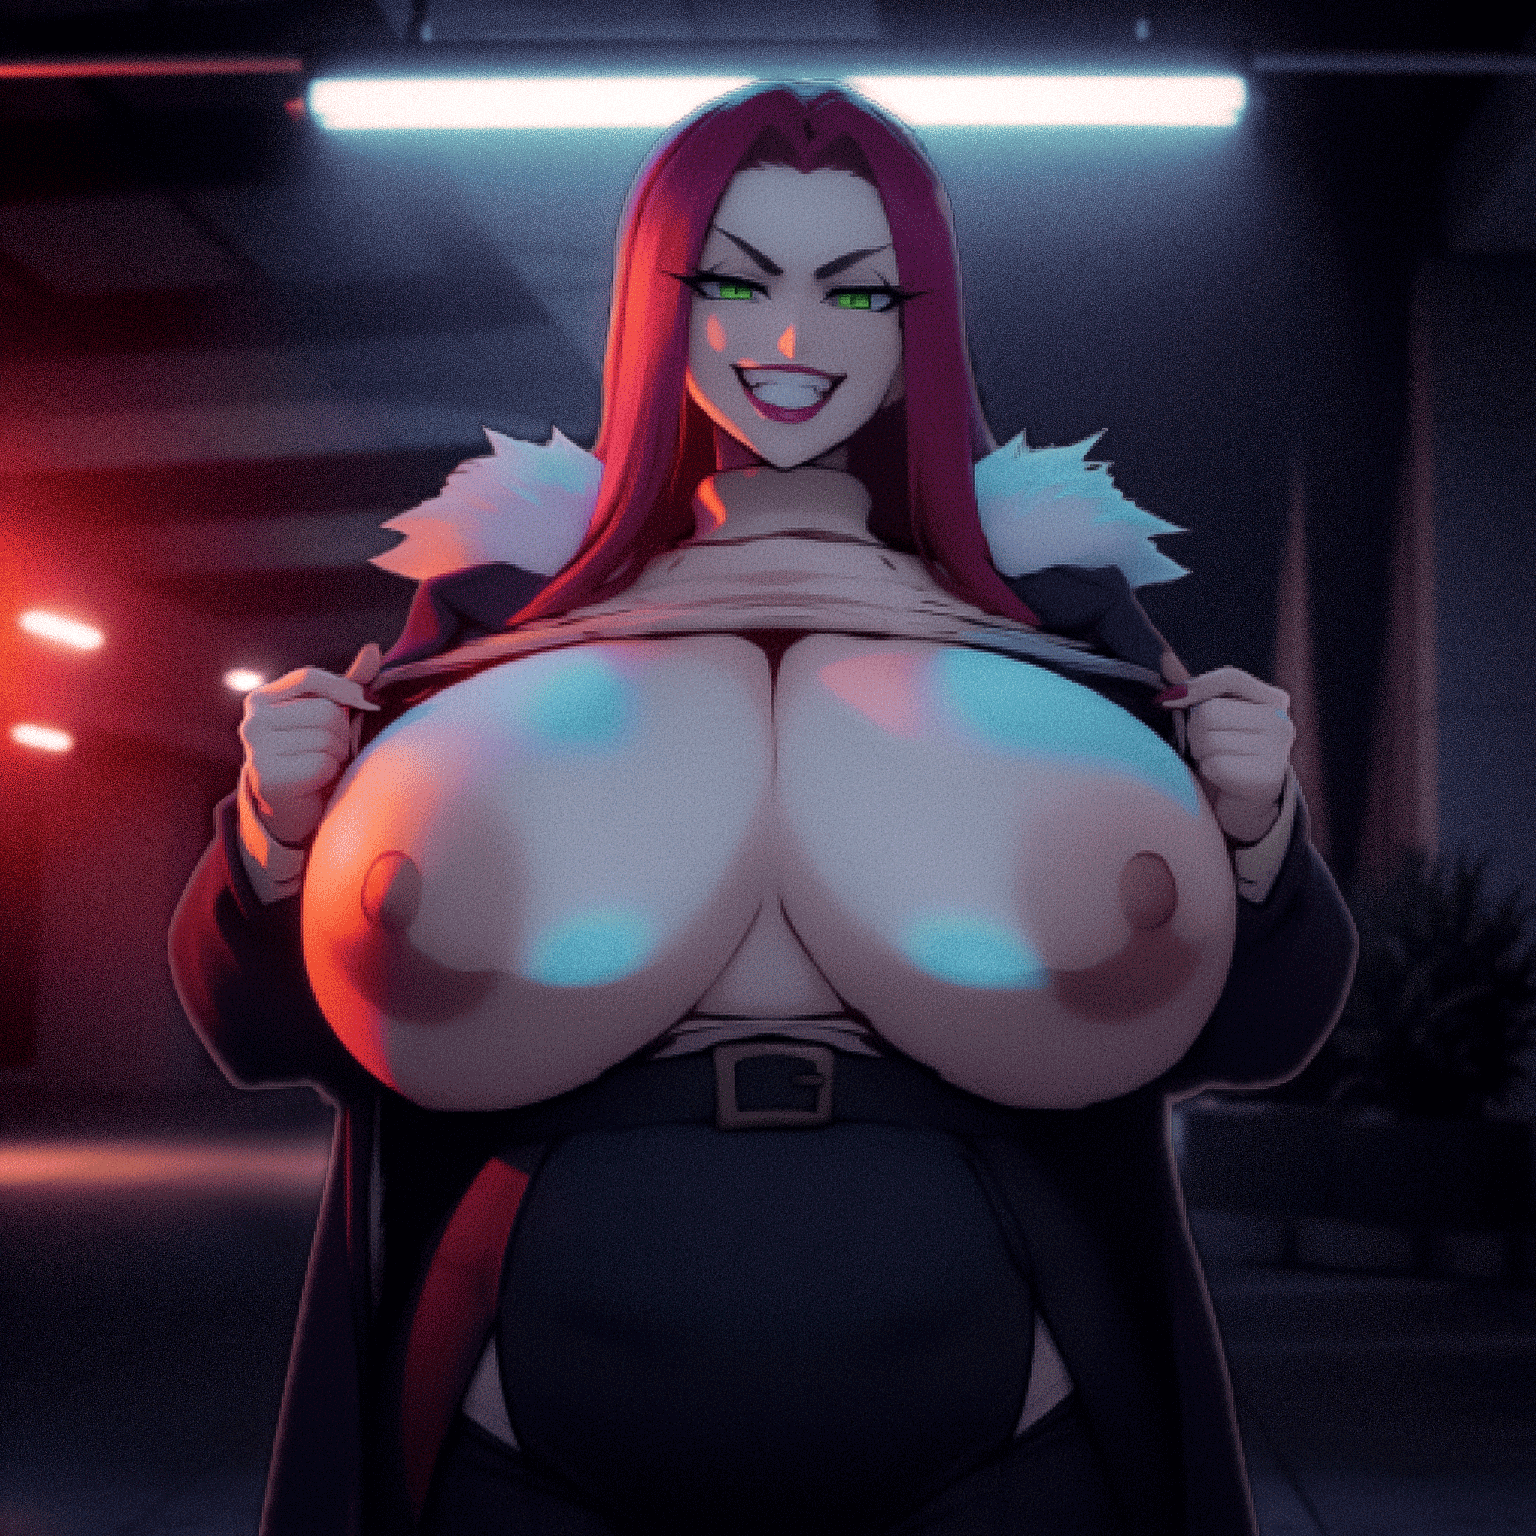
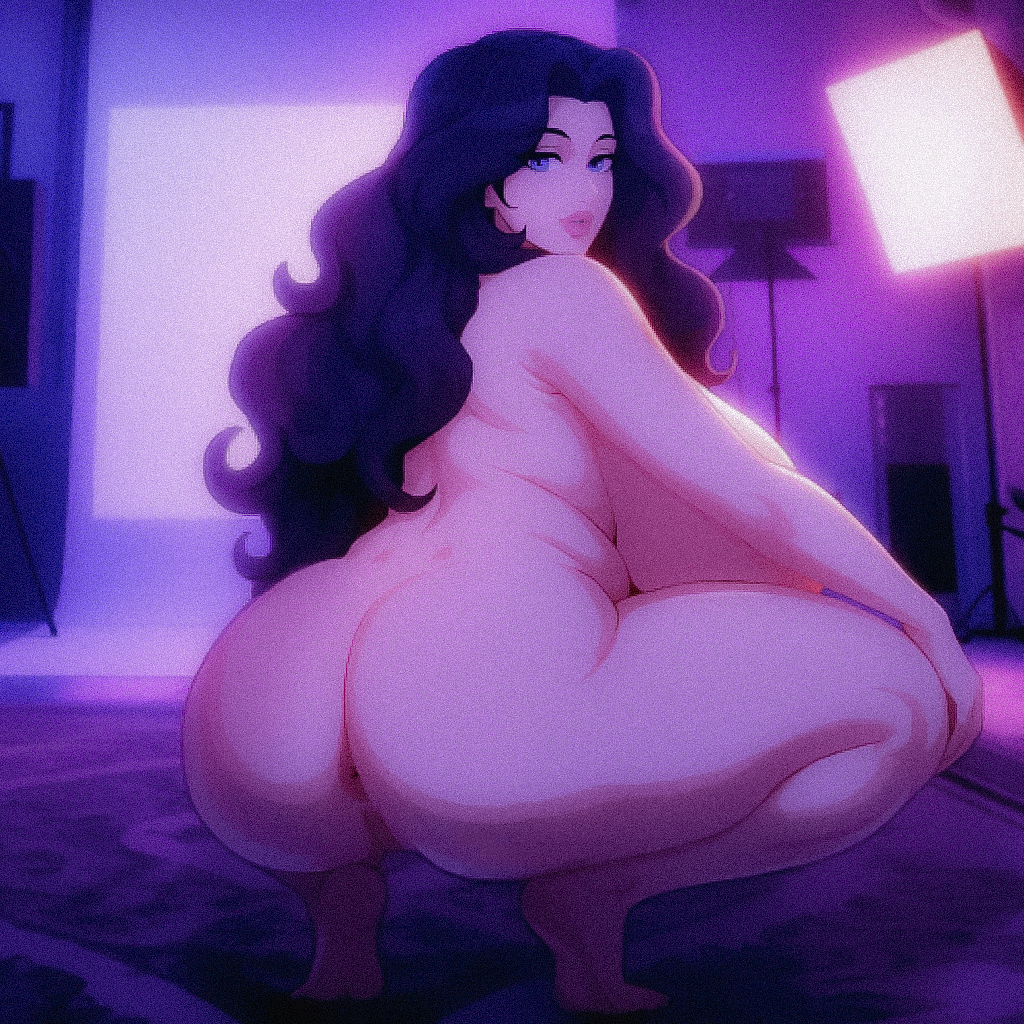
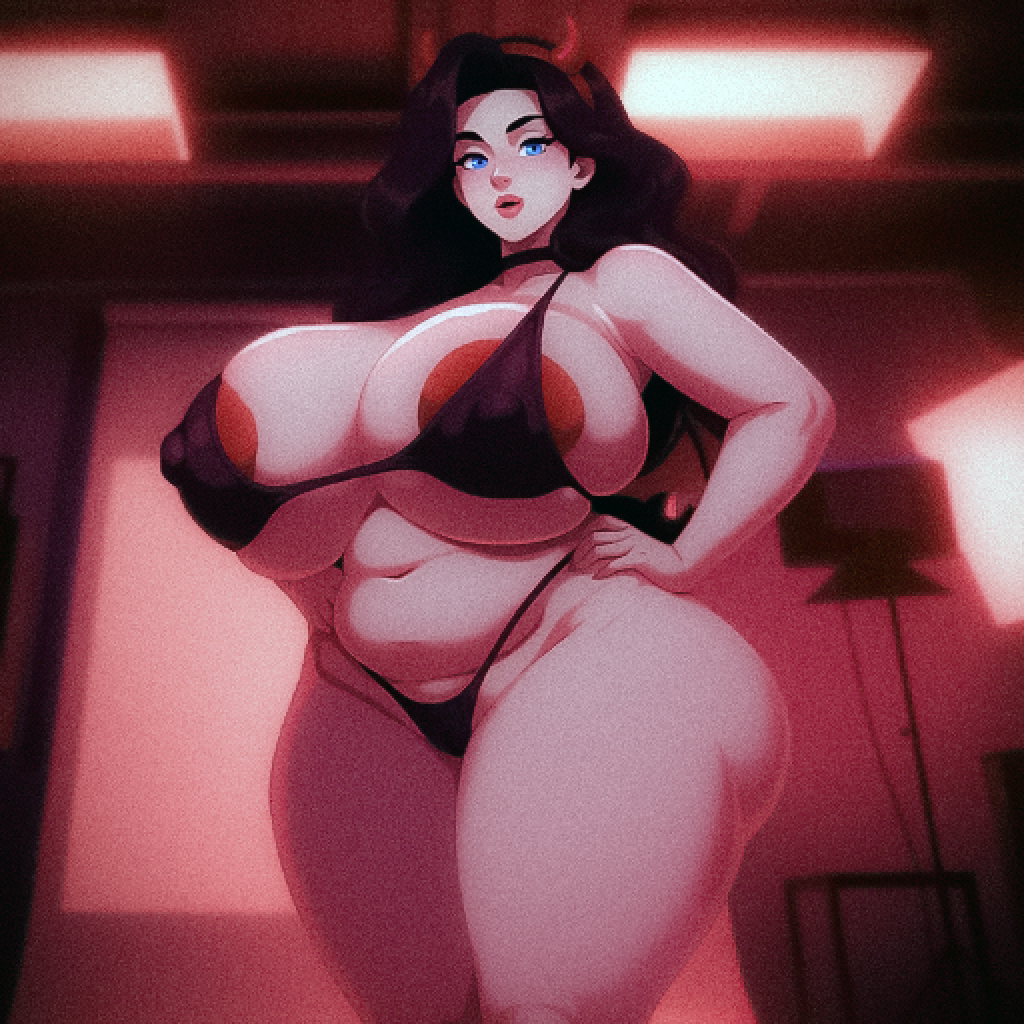
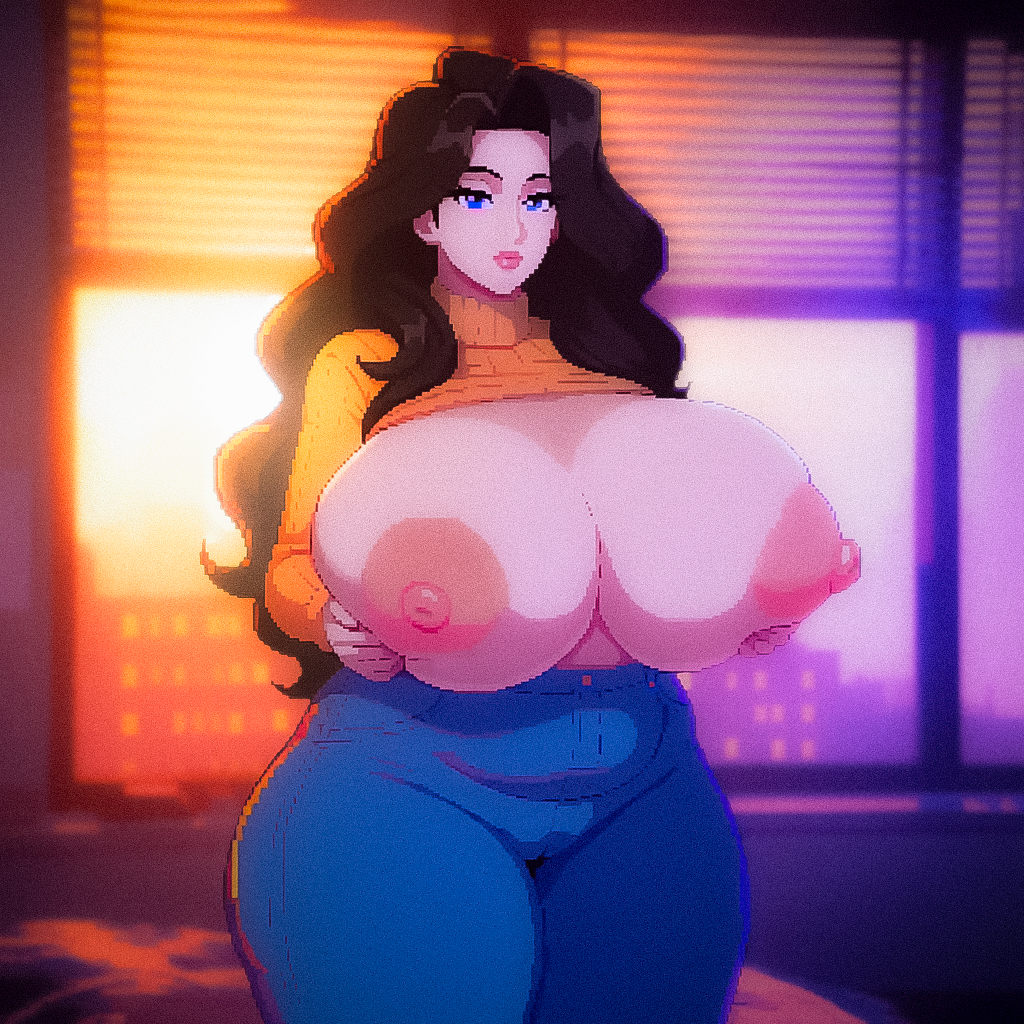
Interested to know if we are going the relight style for fan images or sticking with the OG CG style?
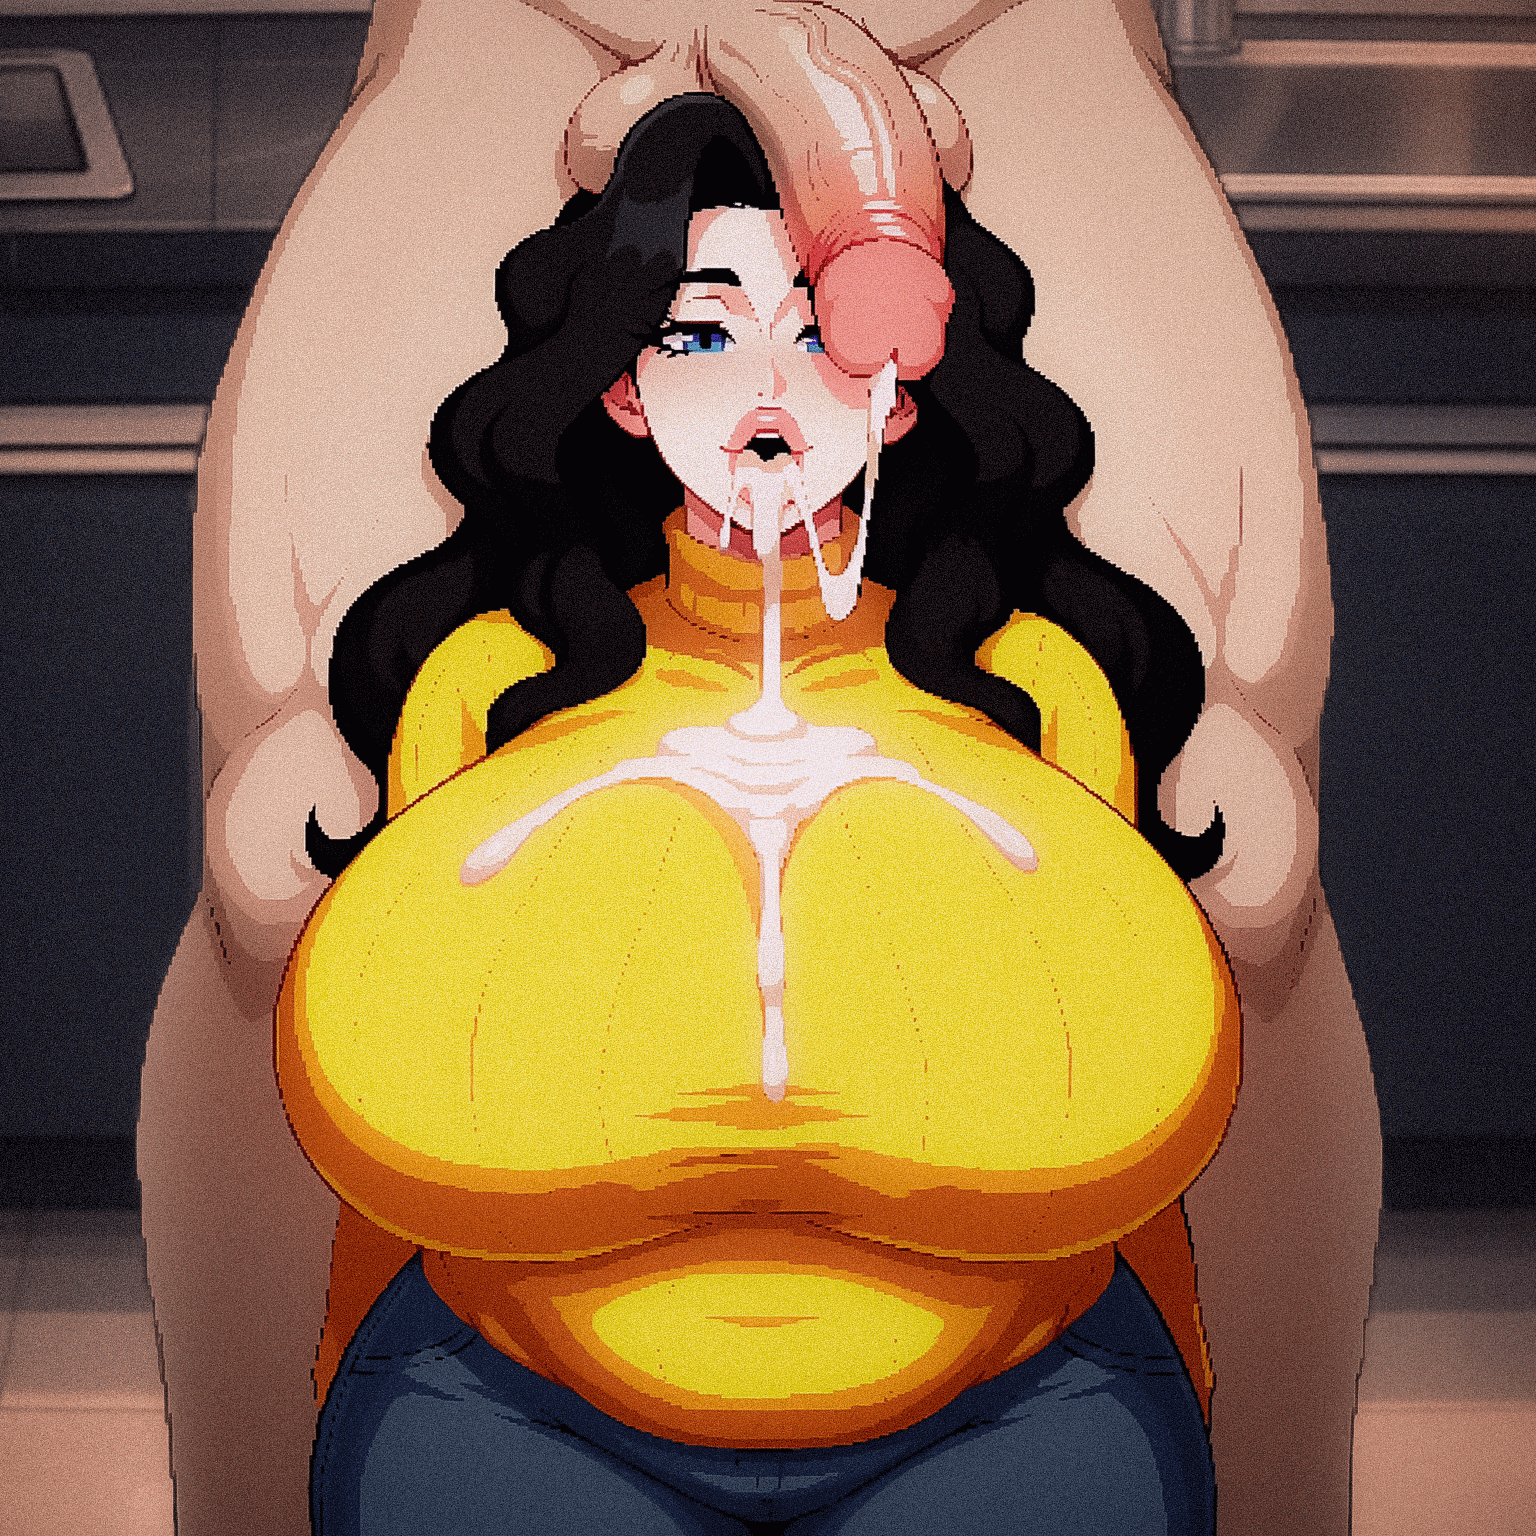
Hi! I'm new to AI image generation, and I actually used your comment as a tutorial to get started with it. I'm running into a problem, though, and I can't figure out what I'm doing wrong.
While the image is generating, it looks like it's going to turn out really well, but it starts off extremely blurry. As the steps go on, it gradually becomes clearer, but never fully sharp. Then, by the end, the final image just looks bad.
I'm not sure what I'm doing wrong or what I should change to fix it.
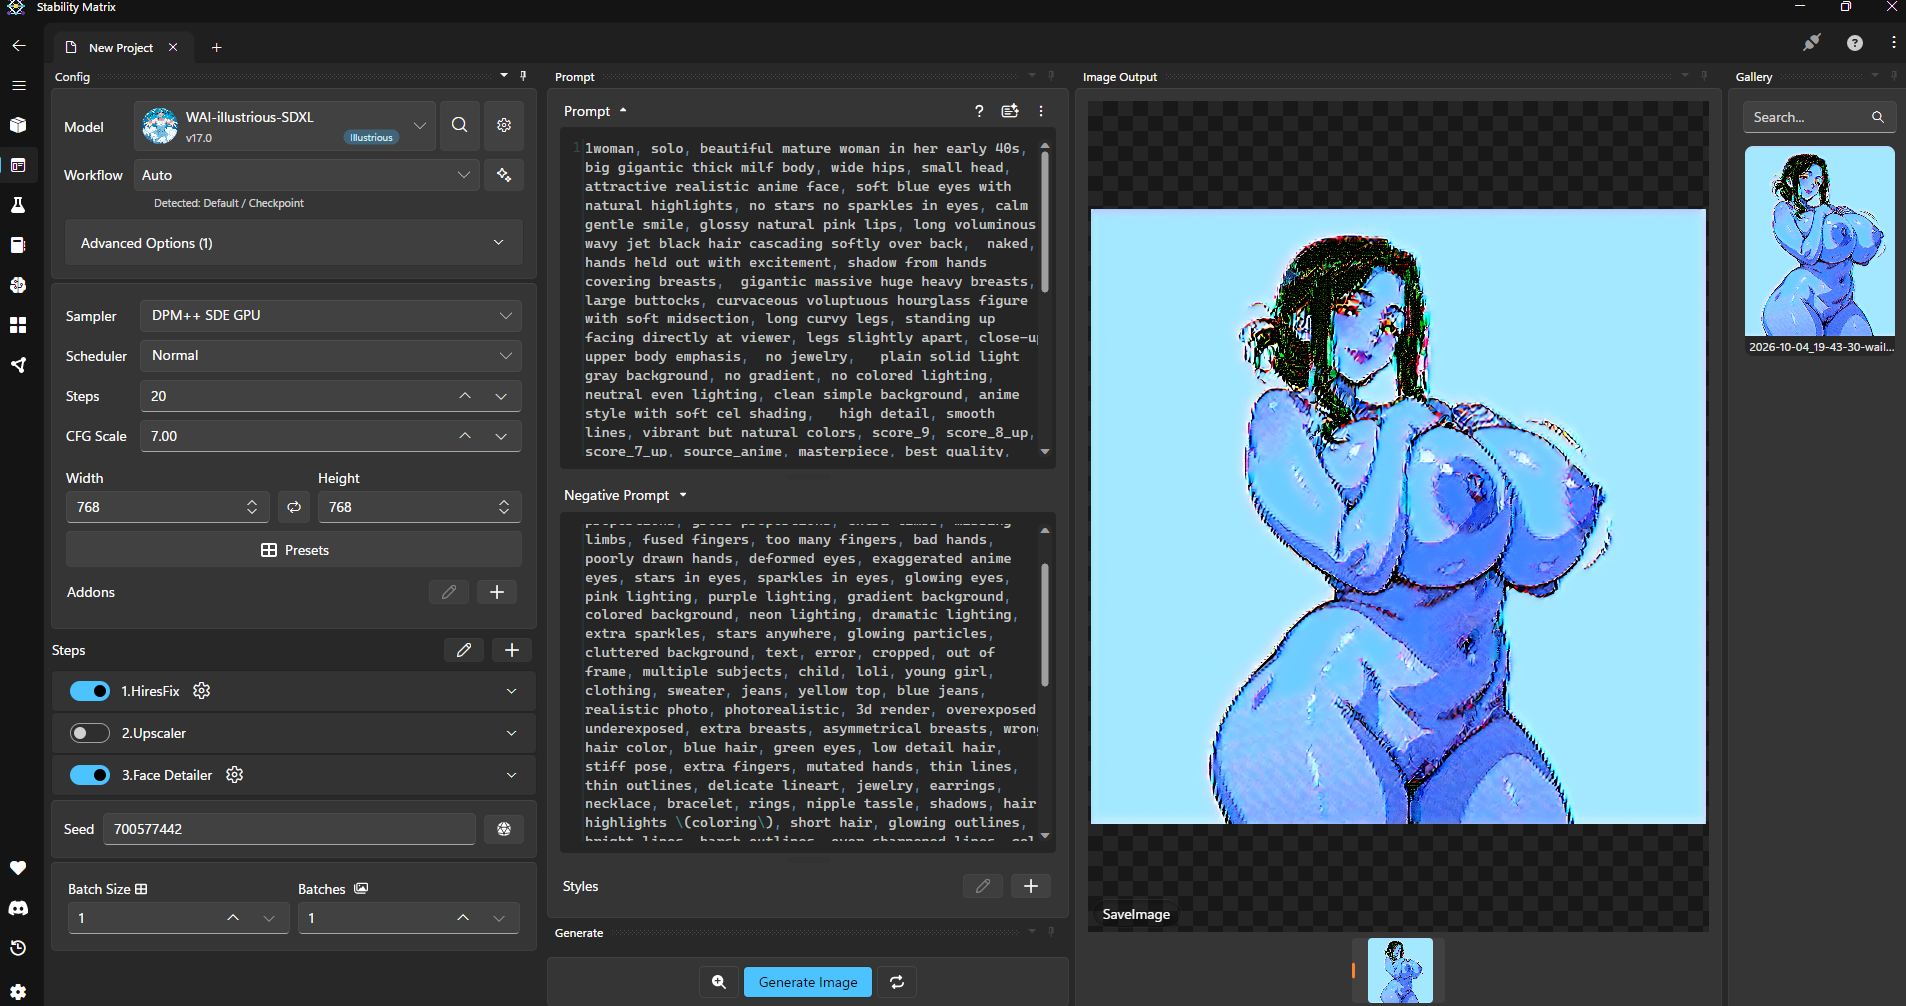
This and foremost start super simple, use
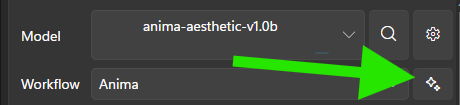
and start from there and build up.
Then in the same way, start building up your configuration and prompts until you get the desired results.
The main thing, is you are missing most of the latest flow and config for the Starmaker outputs, see the guide below for which models and LoRas you will need, and then super simple prompts and negatives to get a baseline:
Quick getting started workflow:
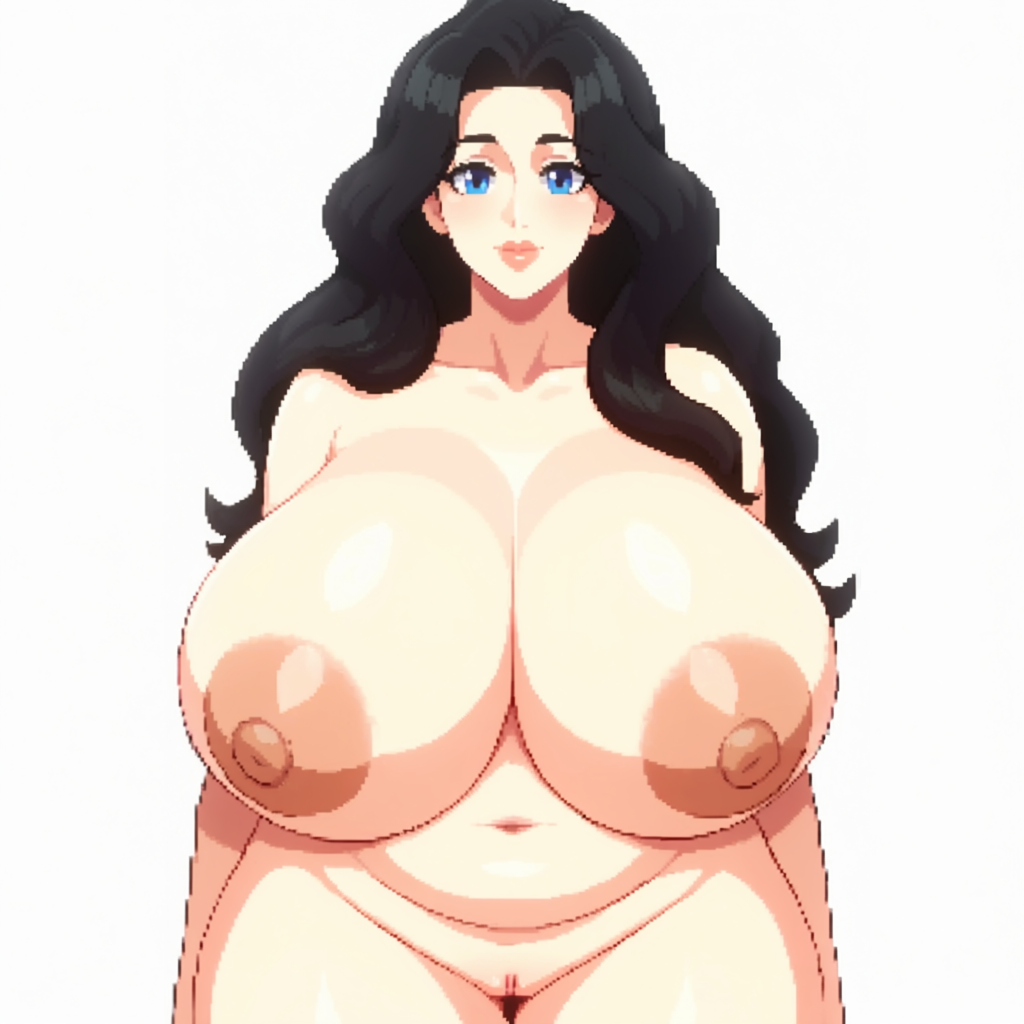
Simple Prompt
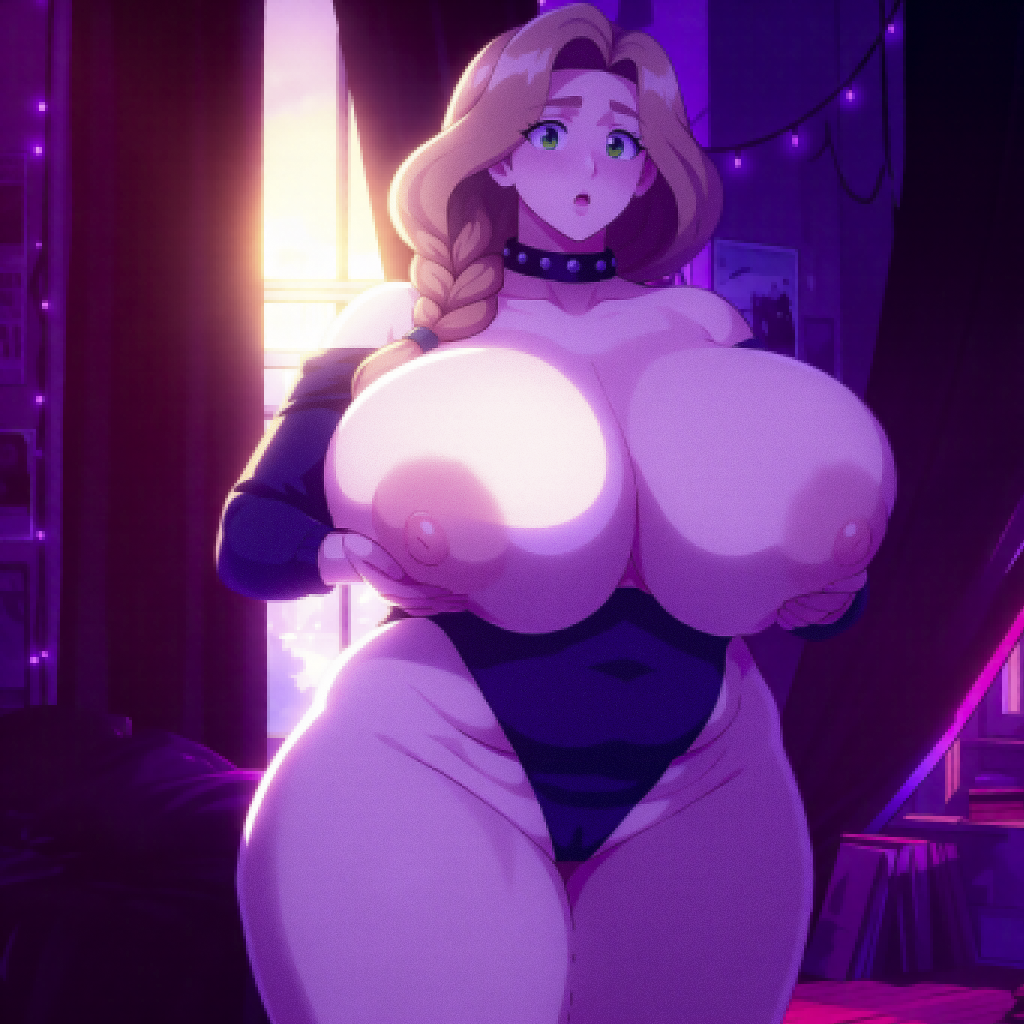
SMSAnna, Starmaker Story Style, mature woman, thick milf,
 long wavy jet-black hair, soft side-swept fringe, crown volume, inward waves covering the ears,
 large bright blue eyes, dark winged liner, soft rounded face, full cheeks, soft jawline, small smile, lips slightly parted,
 pale fair skin,
 extremely  low-sitting heavy round breasts, very wide, breasts resting on the upper belly, deep cleavage, large brown-pink areolas, nipples, heavy underboob,
 soft chubby belly protruding under the breasts, visible navel, thick soft waist, not a narrow waist,
 naked, big hard nipples, areola, thick pussy,
 natural pose,
 close to viewer,
 standing, facing viewer, plain white background,
Simple Negatives
blue-black hair, straight hair, brown hair, short hair, bangs covering eyes, wide grin, toothy smile, red eyes,
small breasts, flat chest, skinny body, masculine, futa, penis,
kitchen, 1boy, pixel art, photorealistic, 3d render, bad anatomy, extra fingers, blurry, watermark, text
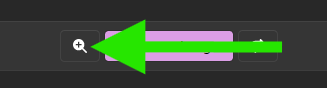
Turn off HiRes Fix, you can use it once you are happy with your output once you have the base output by selecting the icon next to Gen
Basic steps for image generation are above. Animation basics are a little more involved this adds Qwen Relight and MiniMax H3 into the steps after image generation.
Though as mentioned before the majority of my images also include manual editing, tracing and composition in Photoshop. Then Animations are also edited in Clipchamp.
I am moving to Premiere at the end of the month though so I am looking forward to that.
If you want them in game, then more steps are involved after the animation is created you would need to create a grid, then splice it within Unity Sprite Editor etc…oh and then you would obviously need to change or tweak some shaders to replicate the lighting if you as going for a sprite instead of an animated CG